
2.1 Installer: Create Owner Account and Workspace
This guide provides step-by-step instructions on how to create an installer account and workspace. By following these steps, users can easily register their installer shop, input their personal and business details, and set up their workspace. This guide is essential for anyone looking to become a STEK installer and wants to efficiently navigate through the registration process.
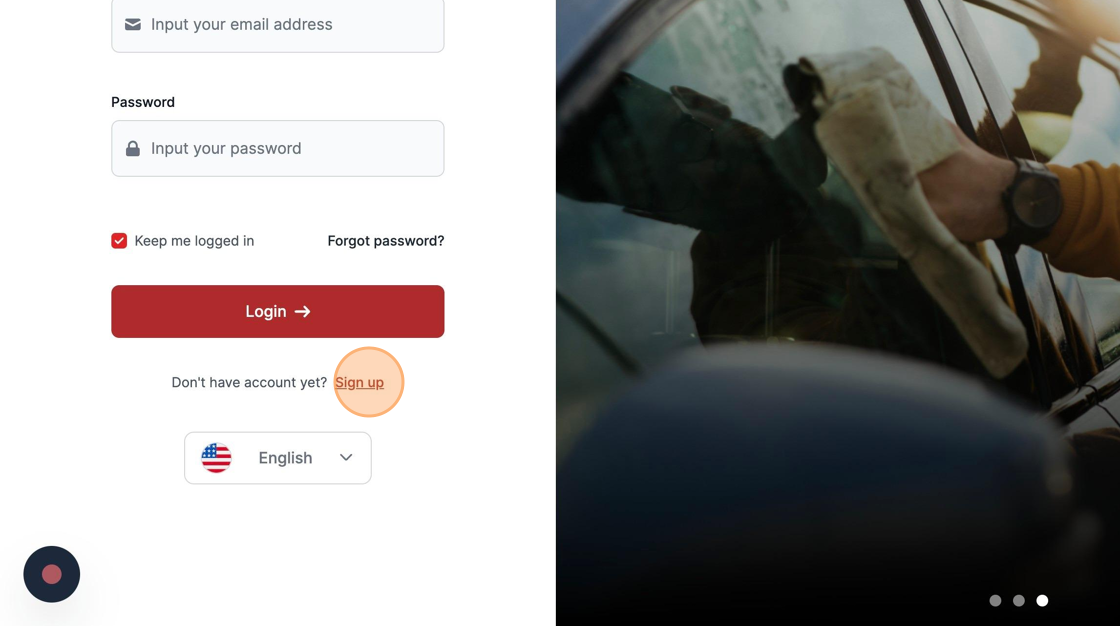
Creating an account using the Sign Up process.
Navigate to STEK shield website. Click "Sign up" in order to register your Installer Shop.
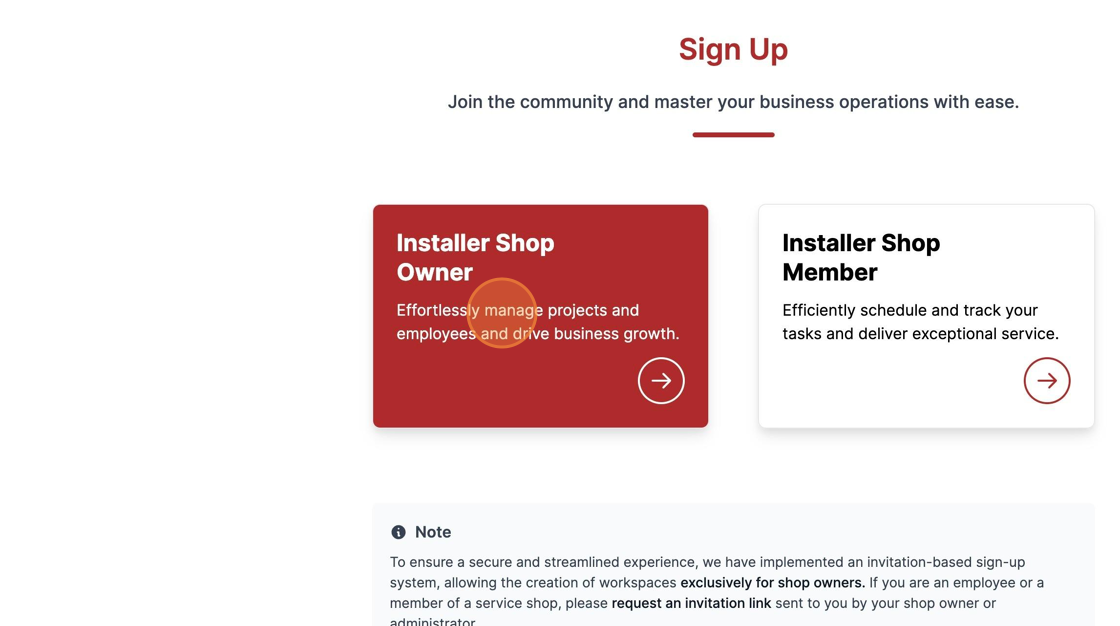
Click "Installer shop Owner".
Input your personal First and Last Name.
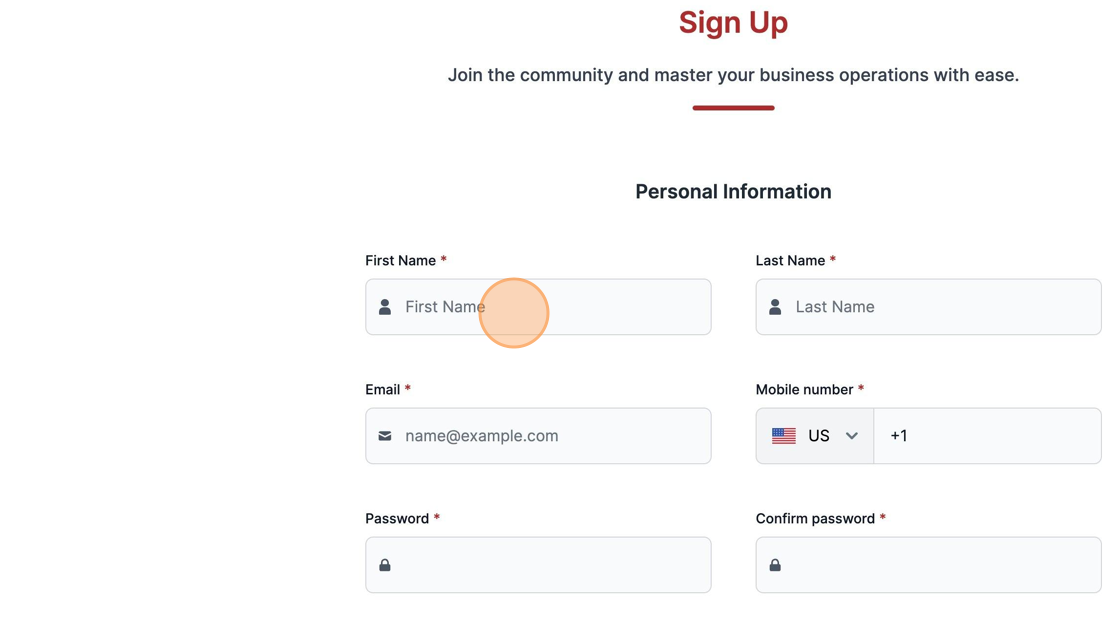
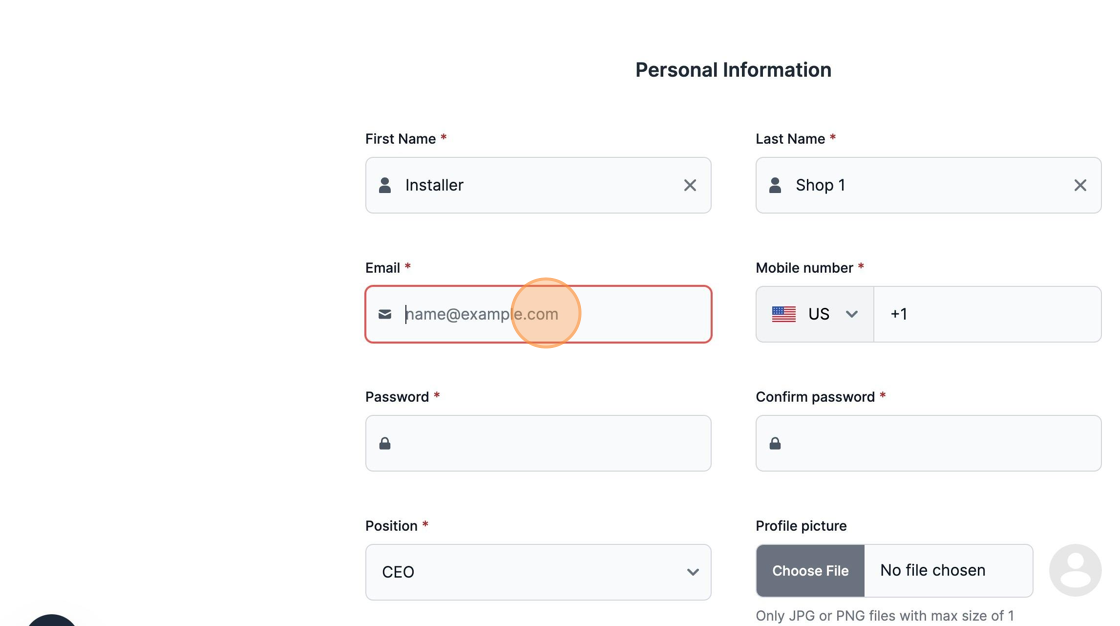
Input your Email information.
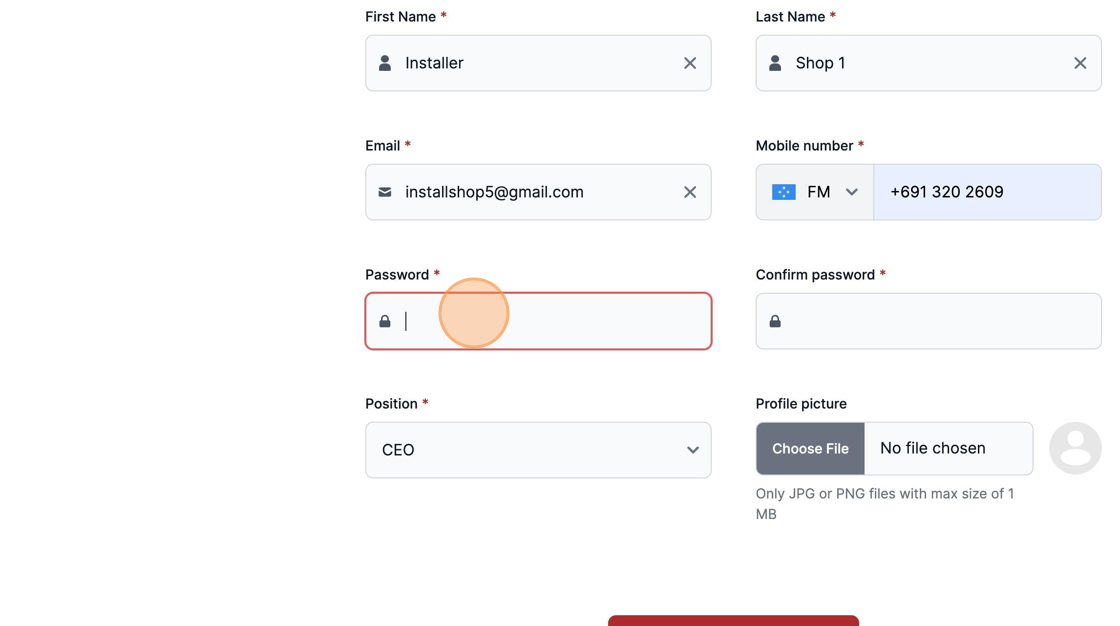
Select your Country Code and input your Personal phone number.
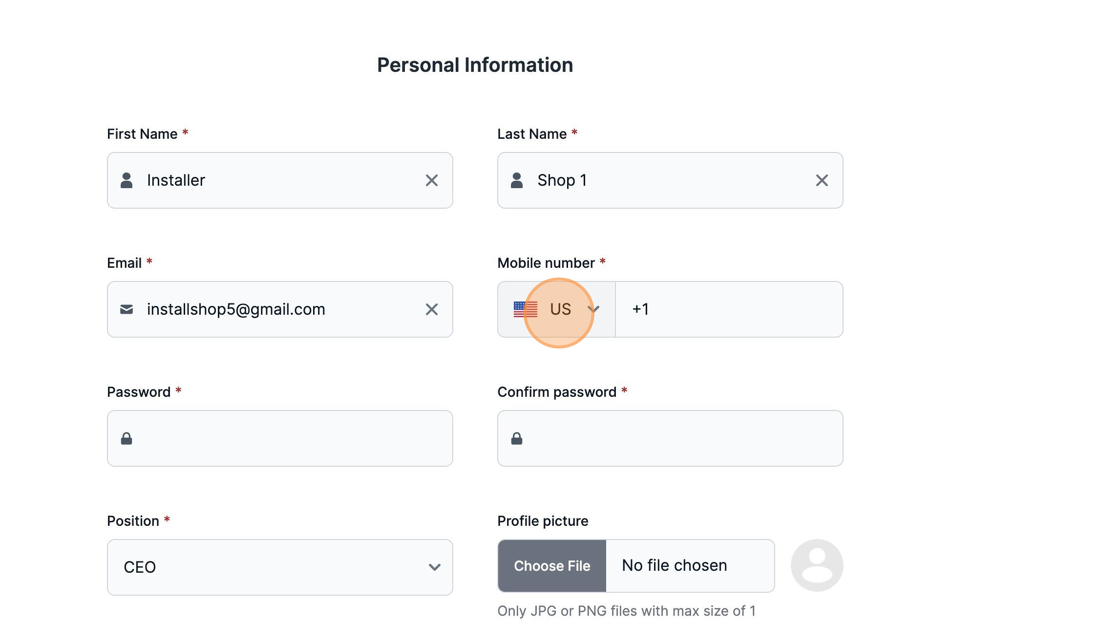
Define a strong Password and confirm it one more time.
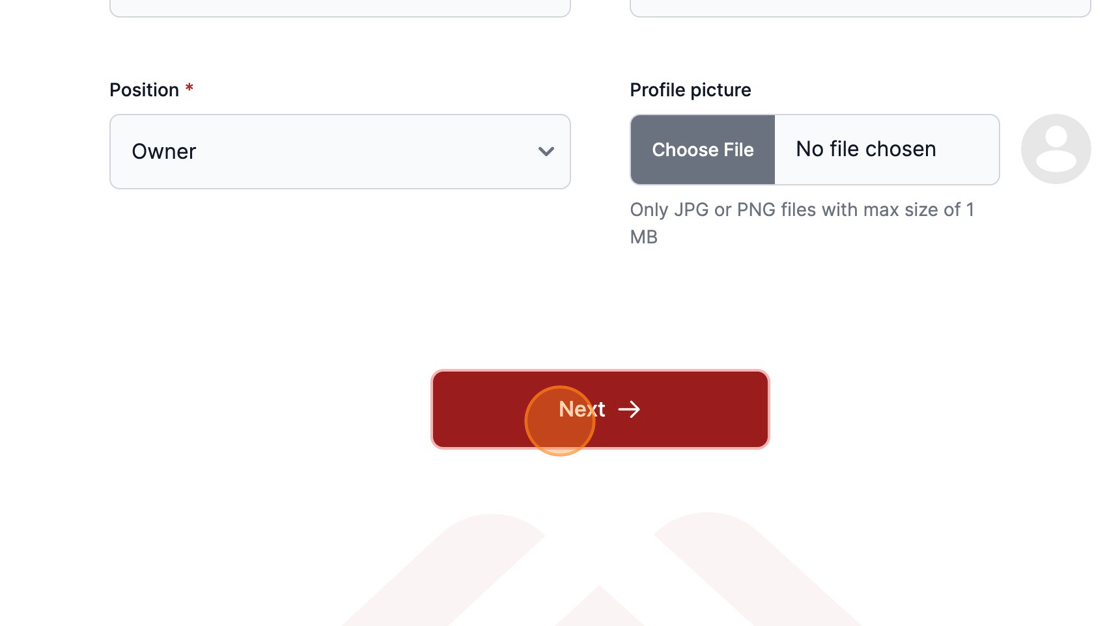
Select your current position in the shop. Additionally you can define your profile photo.
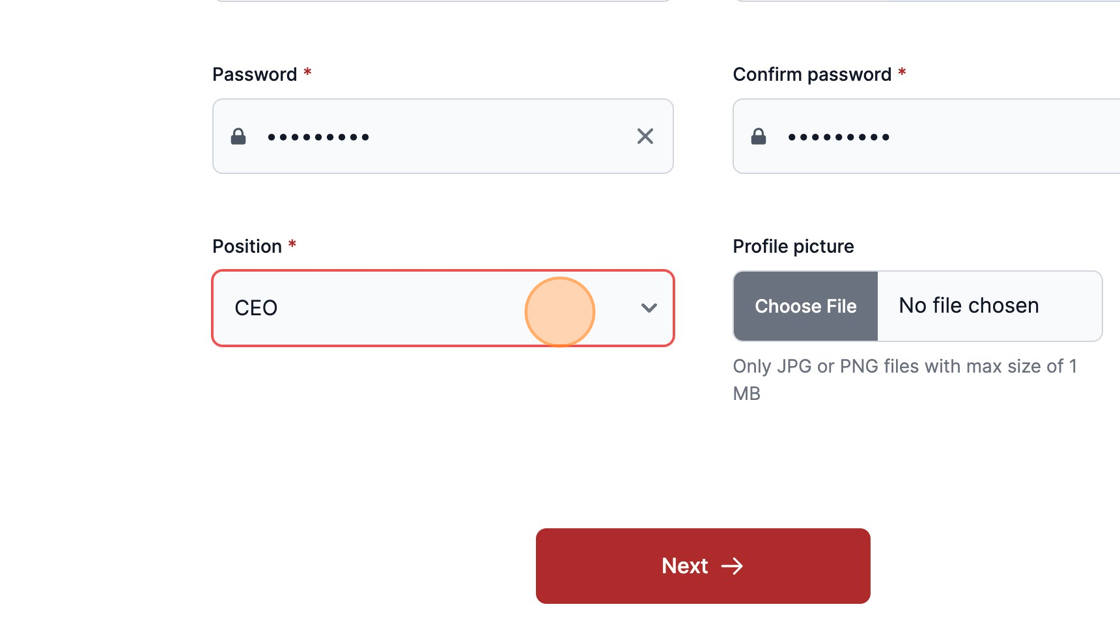
To advance, select "Next".
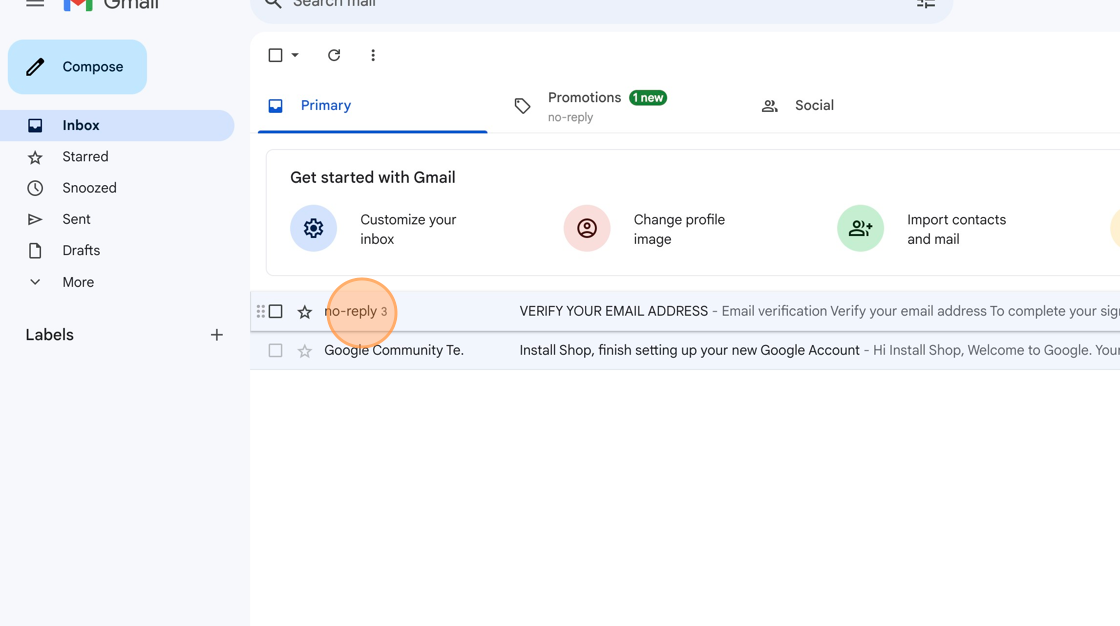
We need to verify your email is working so a five-digit code is sent to the email you provided.
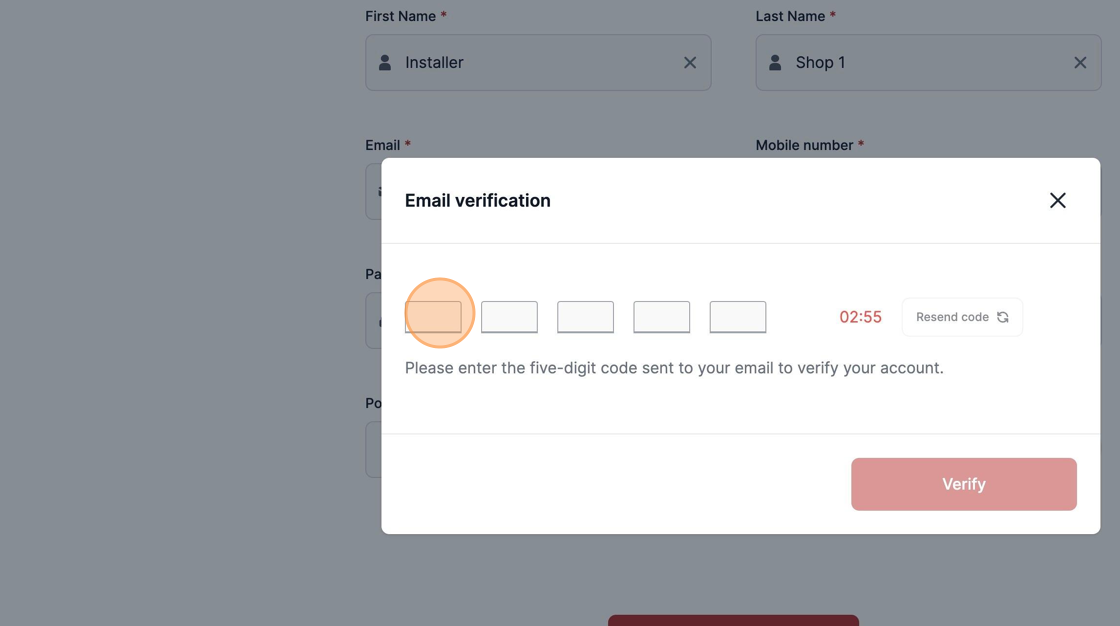
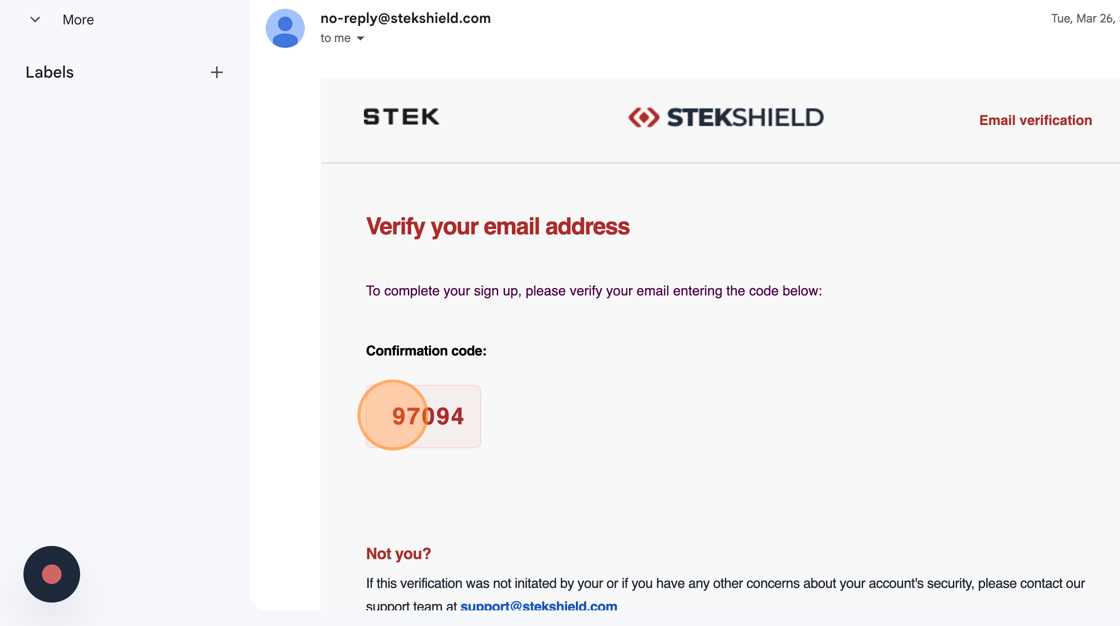
Check your inbox and it should be your last email in the Inbox.
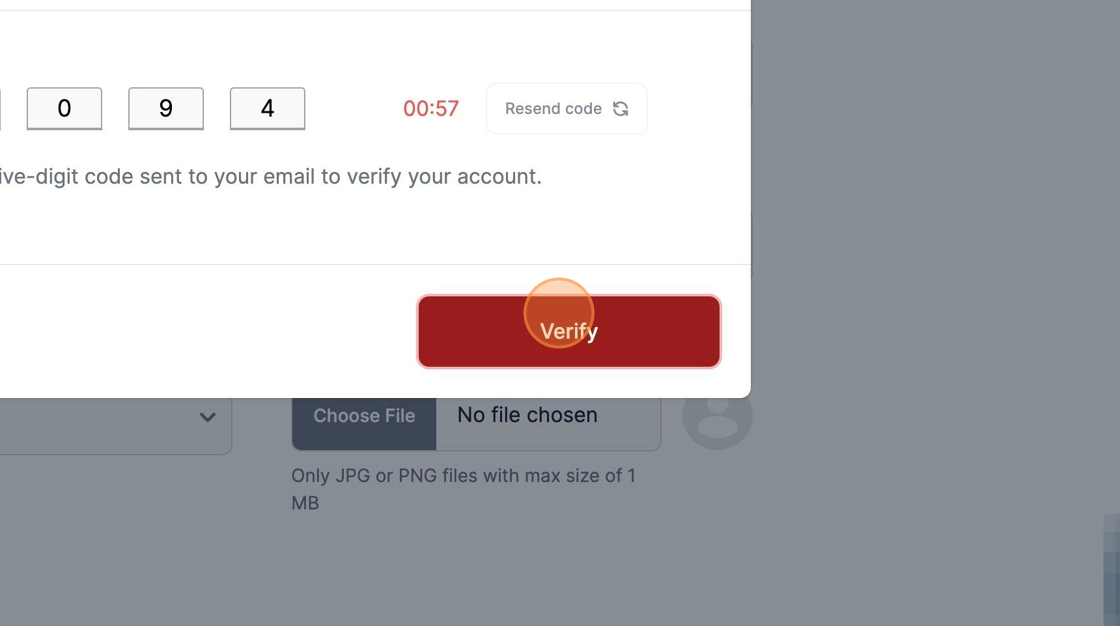
Copy the Confirmation Code and return to Stek Shield Website.
Click "Verify"
After confirming your email. Input your Business details, starting by Legal Name.
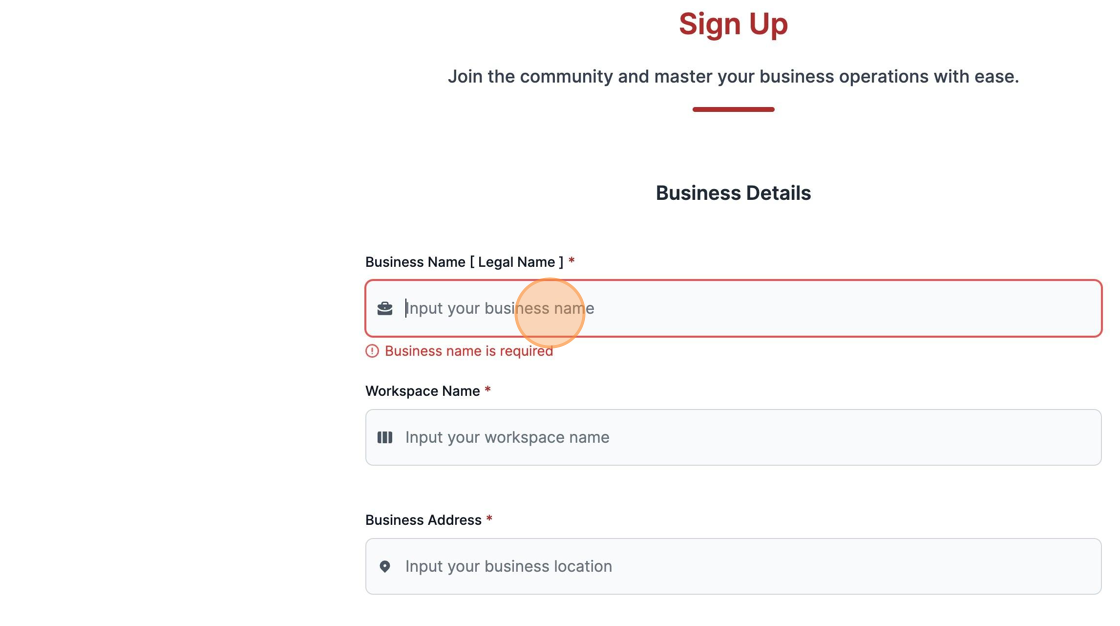
Input your preferred Workspace Name.
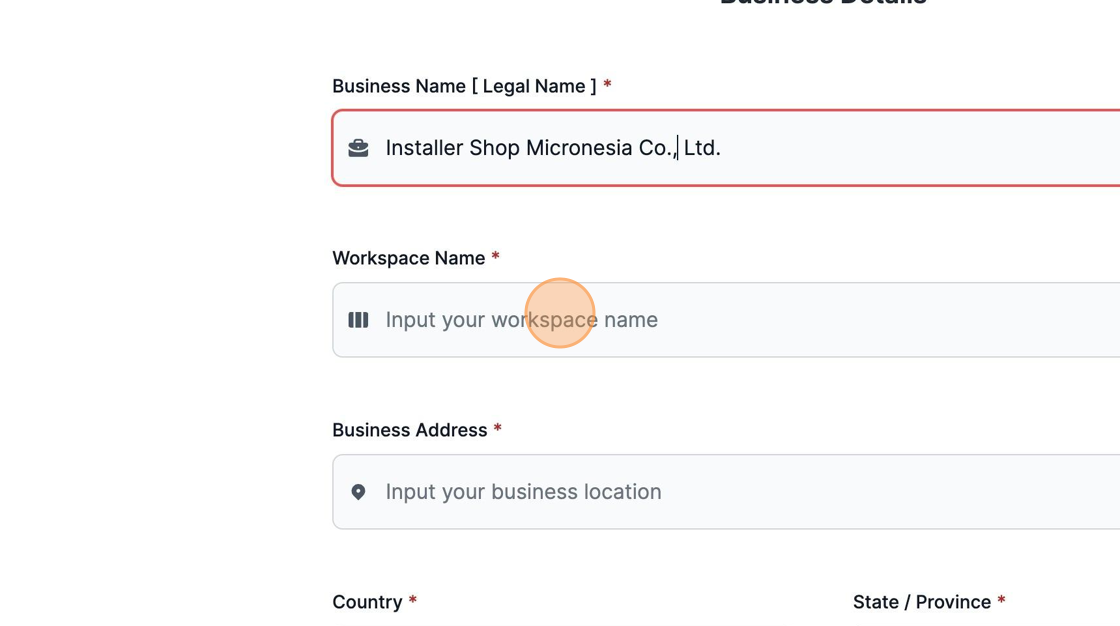
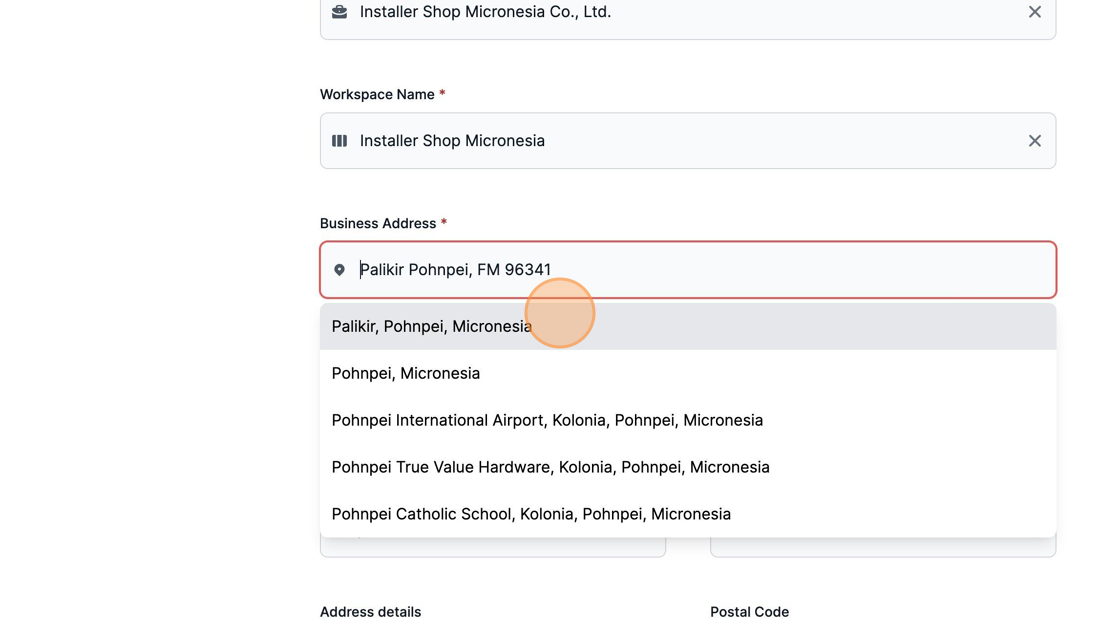
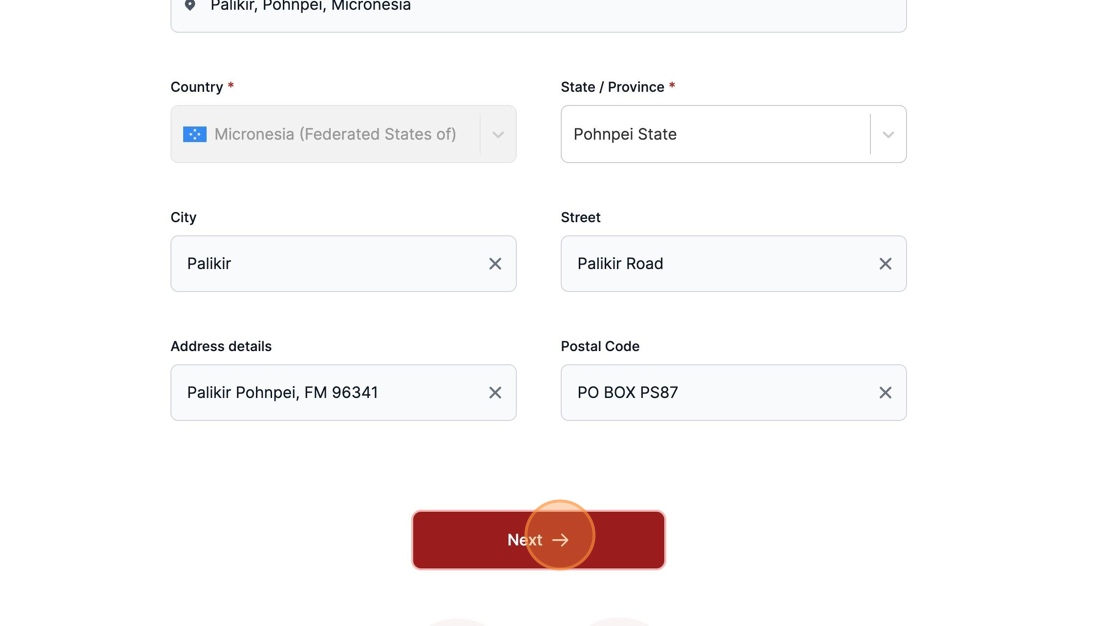
Input and select your Business Address from the list provided.
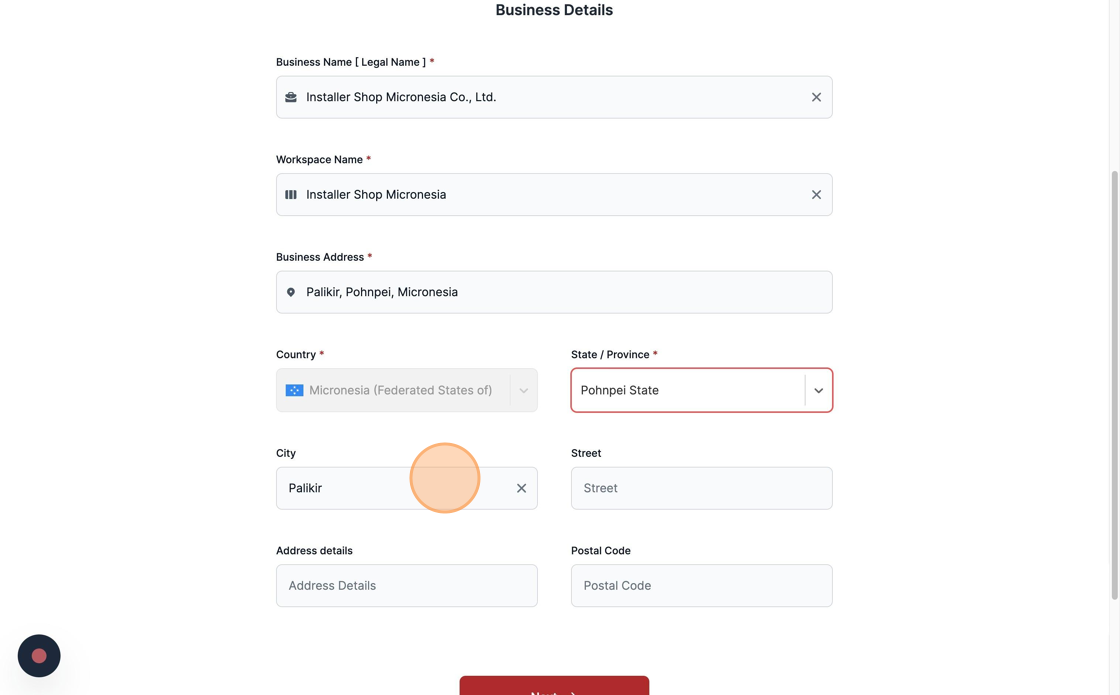
Fill up the remaining fields to better provide details about your business address.

Add the City, Street, Adress details and Postal Code of where your business is located.
To continue, click "Next".
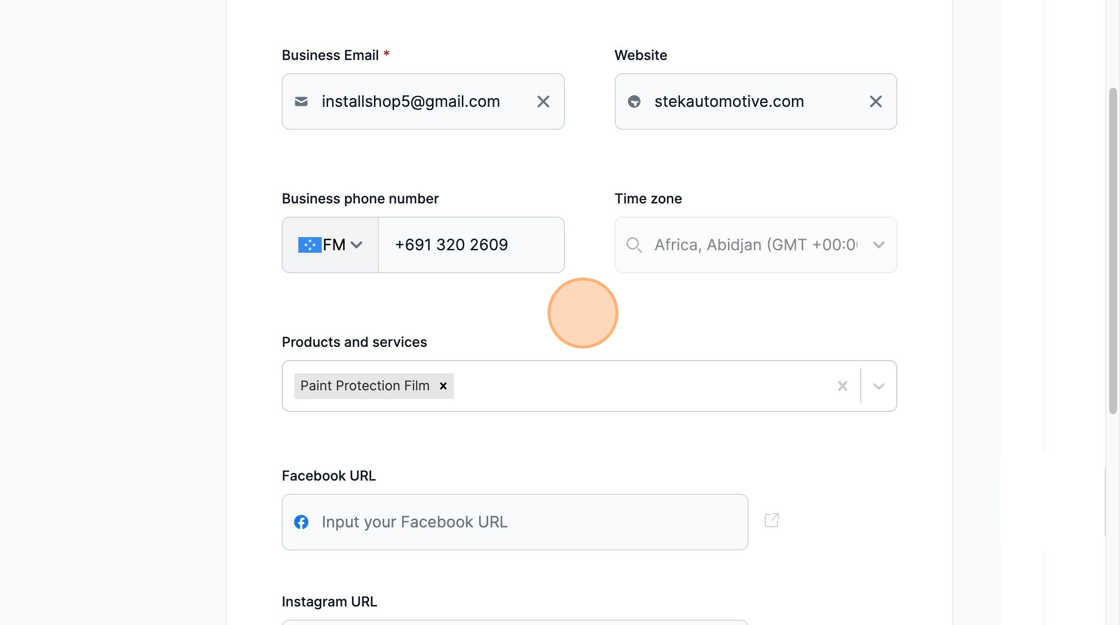
Insert your Business Email address.
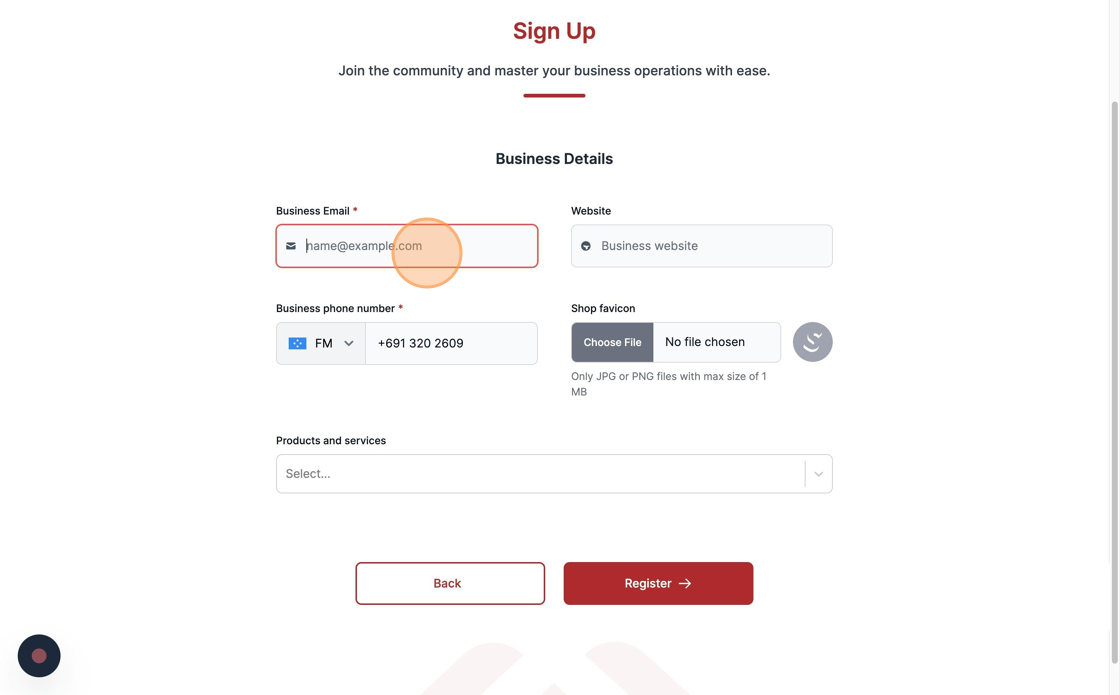
Input your Business Website URL.
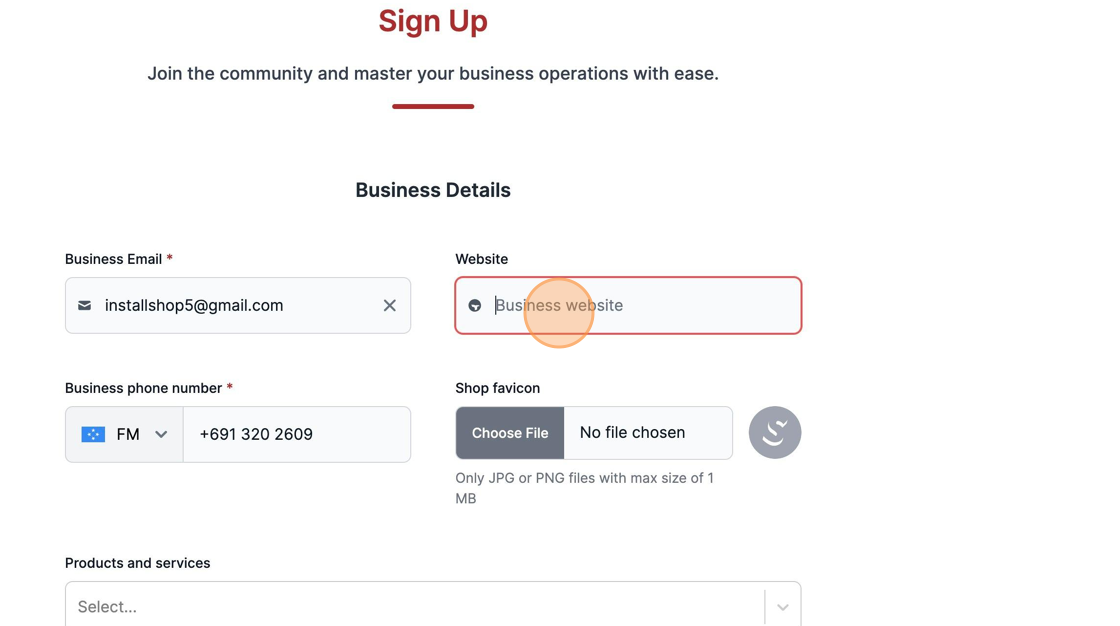
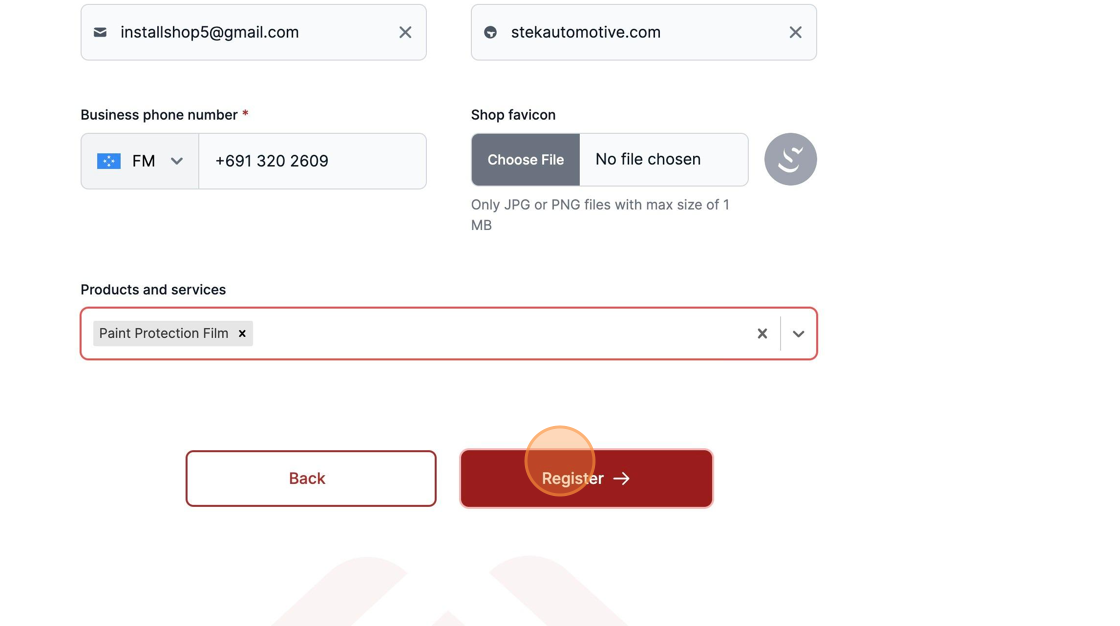
Add your Business Phone number.
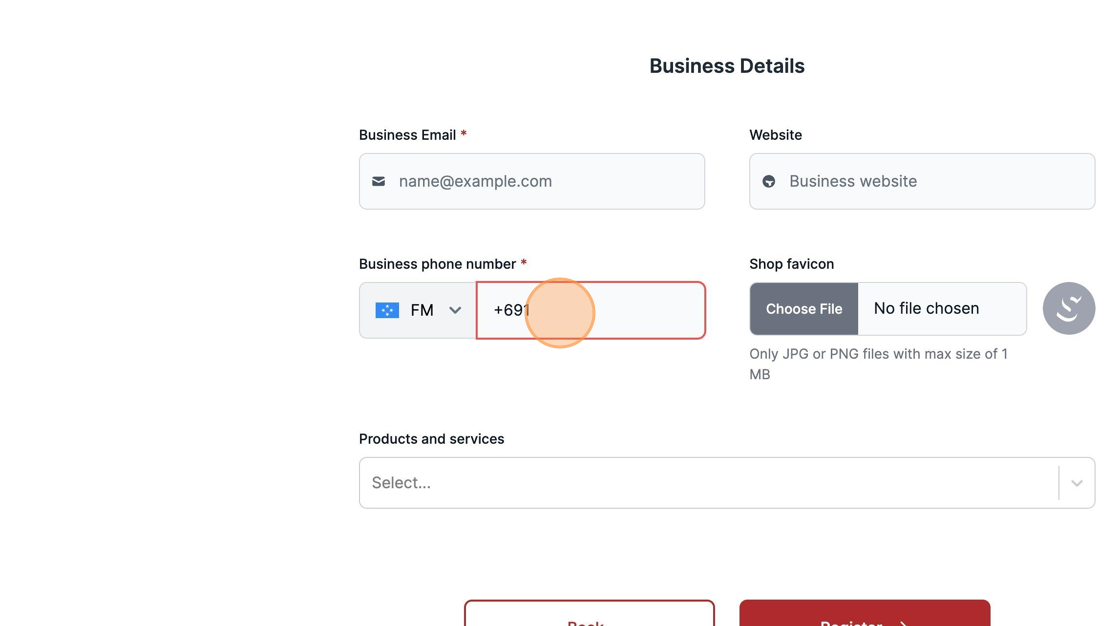
Select the Products and Services you work with.
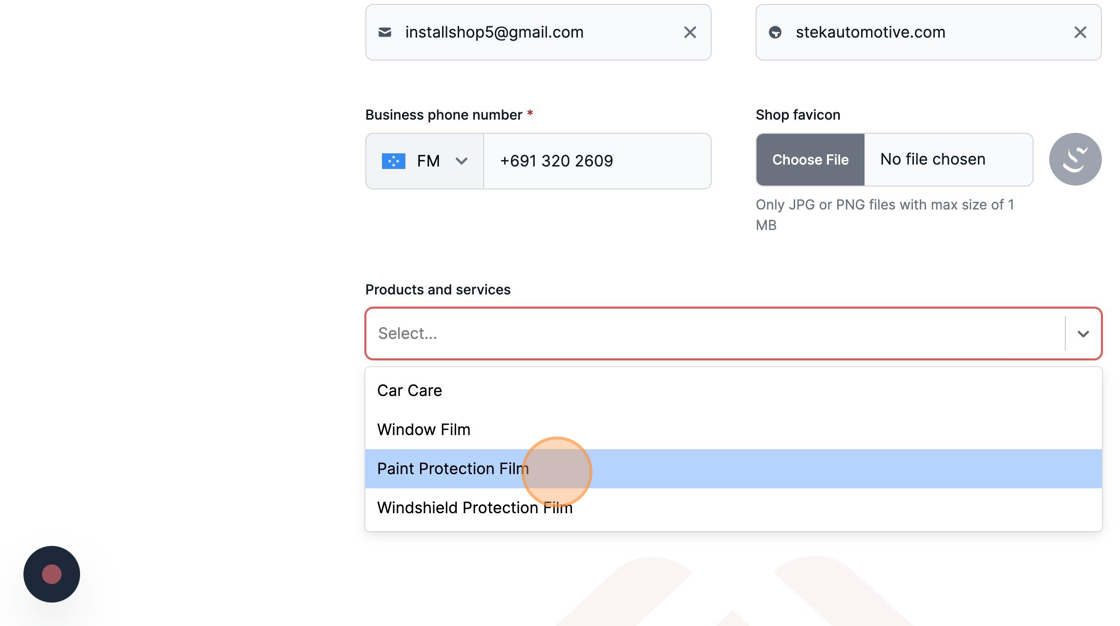
To finish the signing up process, click "Register".
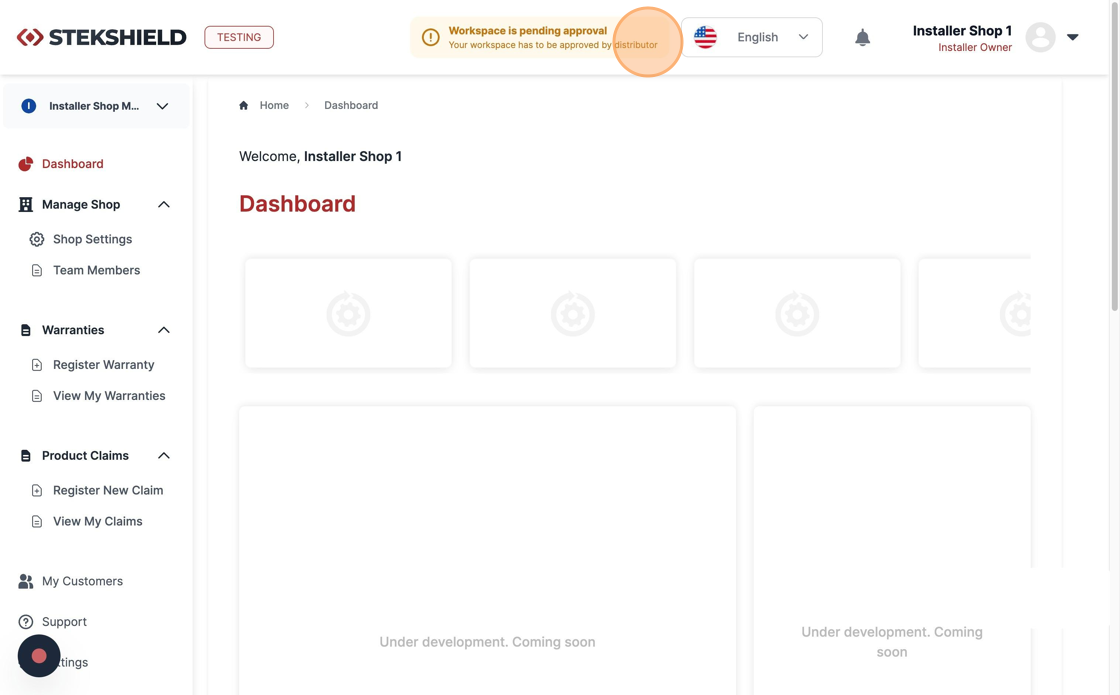
In order to use all the features available, your workspace has to be approved by your distributor.
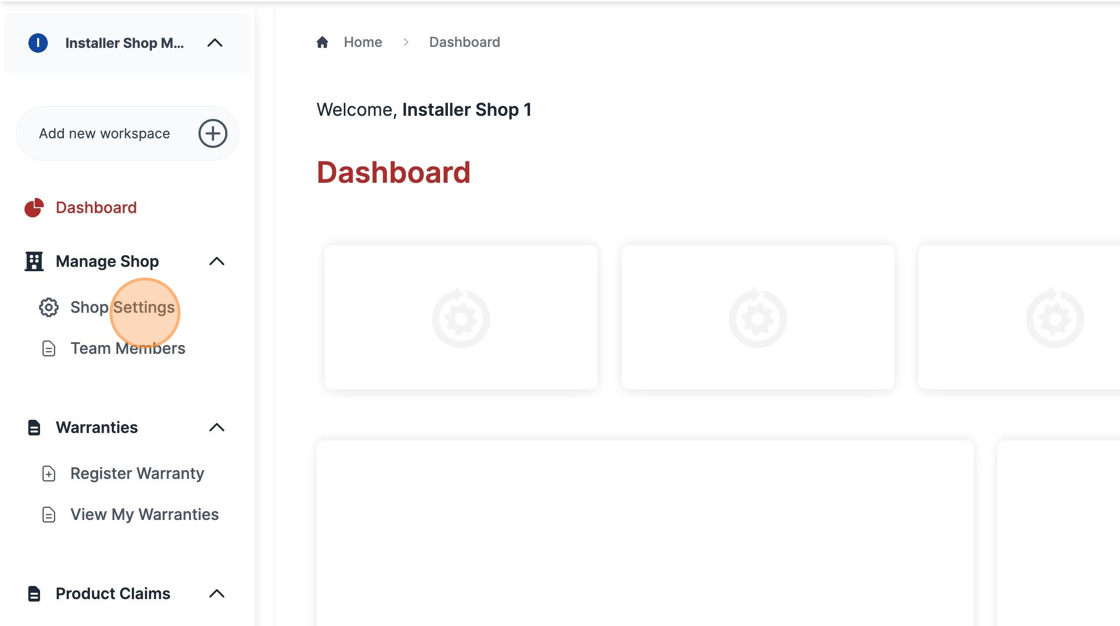
Double check your information on the "Shop Setting" field located in the left side of the screen.
Here it's possible to edit the shop details if you did any mistakes on the Signup process.
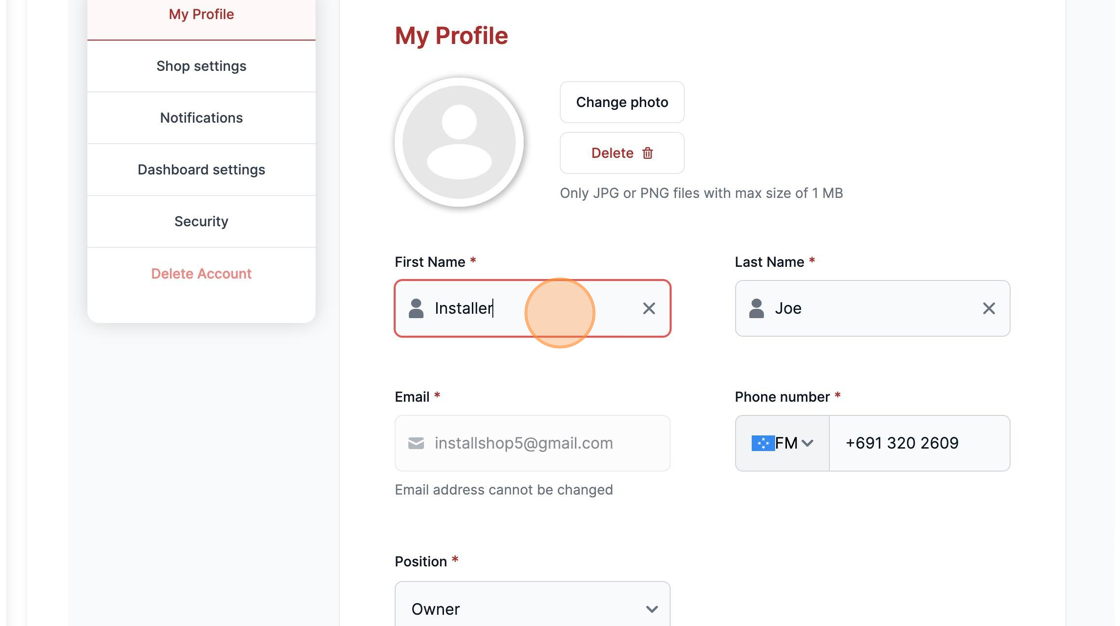
Next to "Shop Settings" access "My Profile" to update personal information if needed.

It's also possible to edit part of your personal details as well.
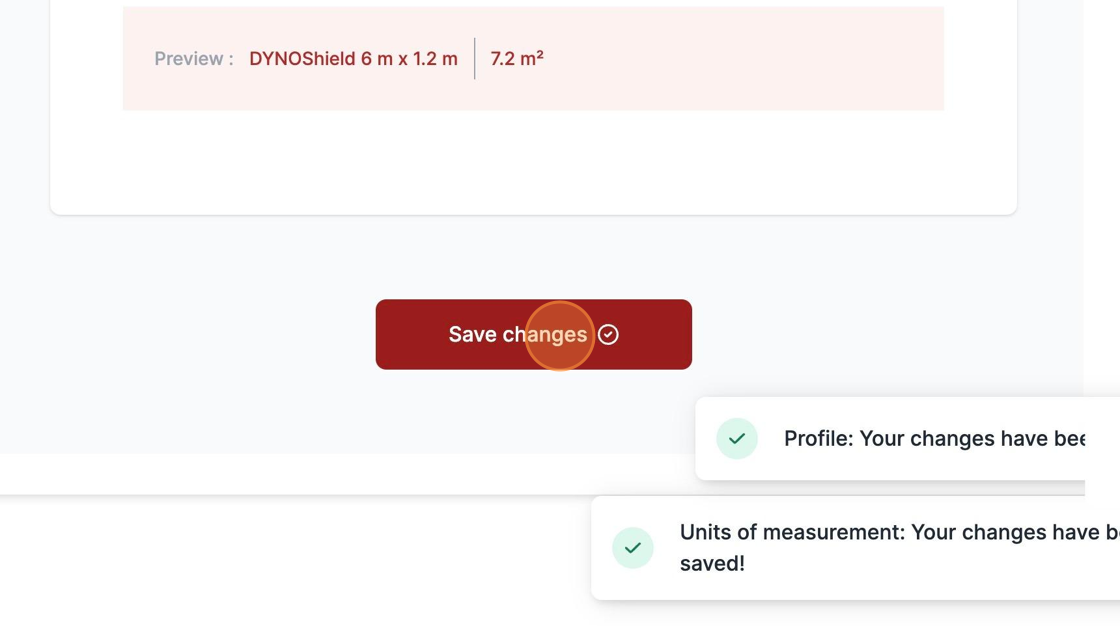
Don't forget to click "Save changes" to persist the added changes.
Was this article helpful?
That’s Great!
Thank you for your feedback
Sorry! We couldn't be helpful
Thank you for your feedback
Feedback sent
We appreciate your effort and will try to fix the article