;

3.2. Approve a new installation shop (customer)

Created by Oasis Raising, Modified on Fri, 17 May, 2024 at 12:24 PM by Oasis Raising

3.2. Distributor: Approve a New Installation Shop (Customer)

This guide provides step-by-step instructions for distributors on how to approve a new installation shop.


All of your customers (installation shops) should have their own Installer Workspaces. The creation of the Installer Workspace on STEKSHIELD should be initiated by the owner of the installation shop. Once they have created it, as a distributor in that country, you will receive an Installer Workspace approval request. Before the Distributor approves a newly created Installer Workspace, that installation shop will not be able to register warranties or submit claims.
1

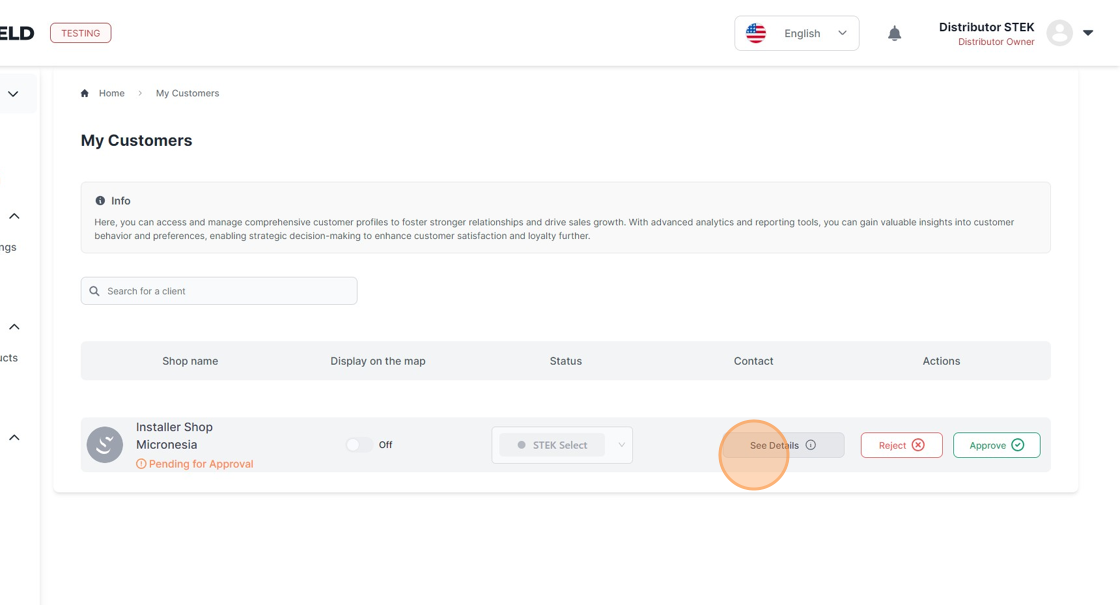
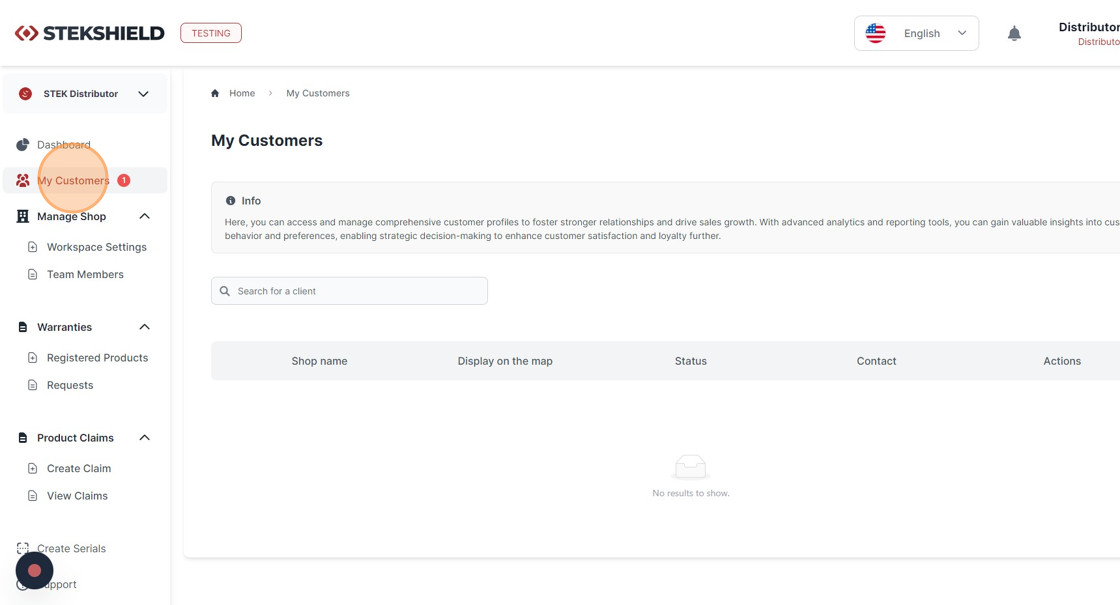
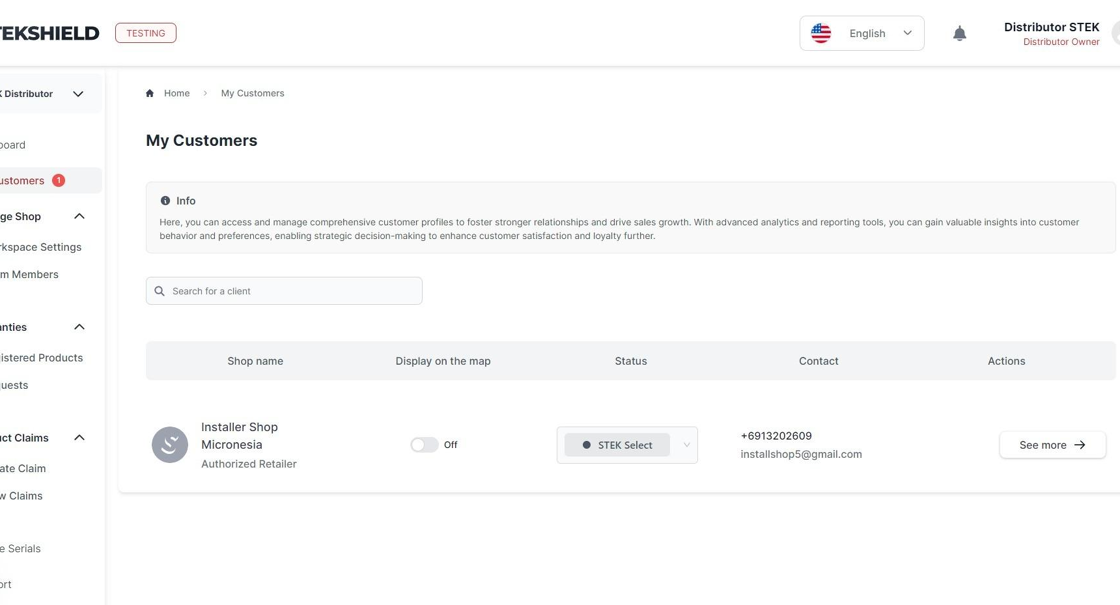
After your customer (installation shop) creates an Installer Workspace, you will receive a notification (indicated by a red-colored number next to "My Customers").

Step 1

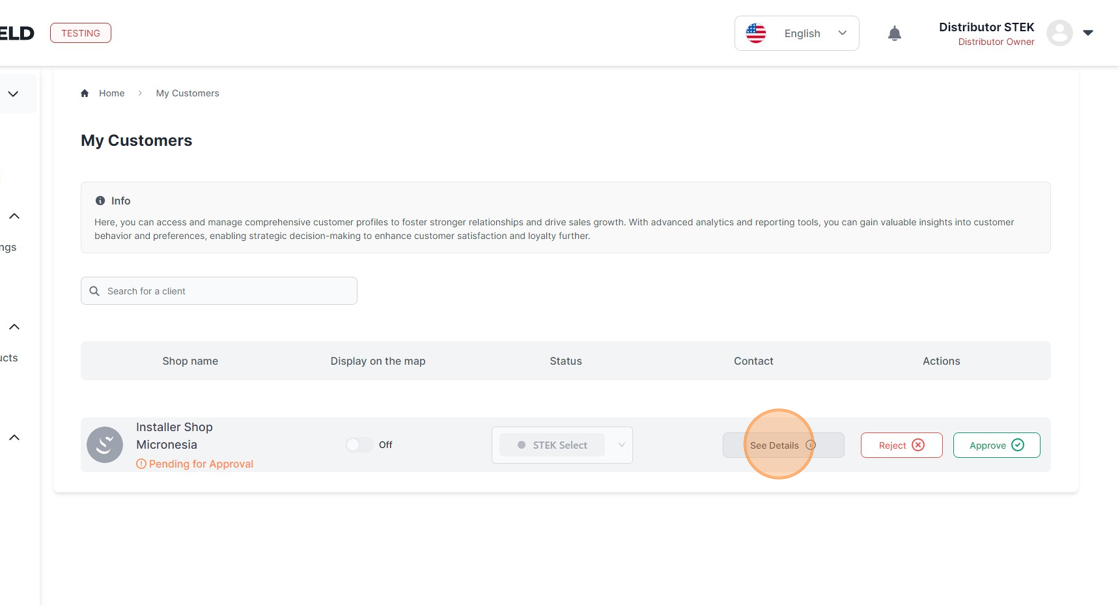
Click "See Details".

Step 2
3

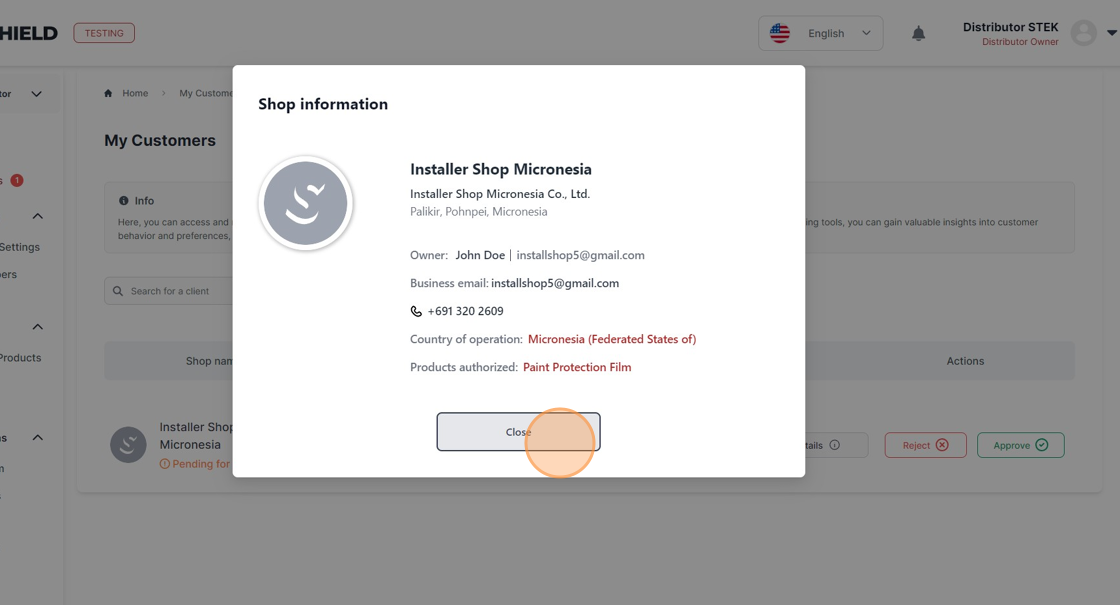
Verify if this installation shop is indeed your customer and ensure that they have correctly indicated the STEK products you authorized them to sell.

Step 3
Alert: It is important that an installation shop indicates "Products authorized" correctly, as they will not be able to register warranties and claims for products that they are not authorized to sell. On the other hand, if an installation shop is not authorized to sell, for instance, Window Film, but has indicated it in the "Products authorized" section, and the Distributor approves it by negligence, this installation shop may issue warranties for fake or non-STEK window films.
4

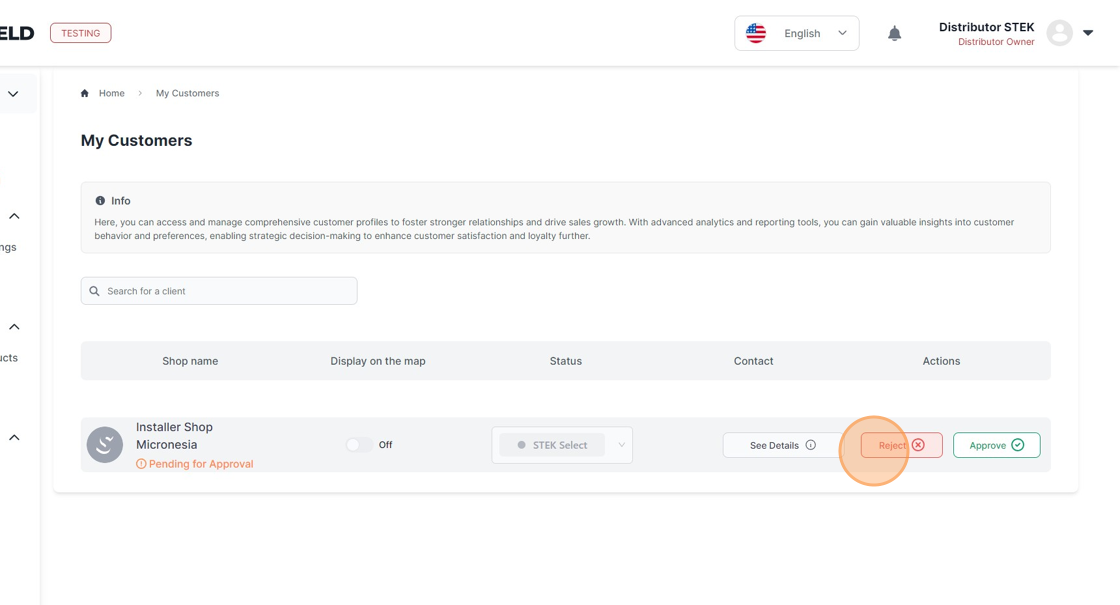
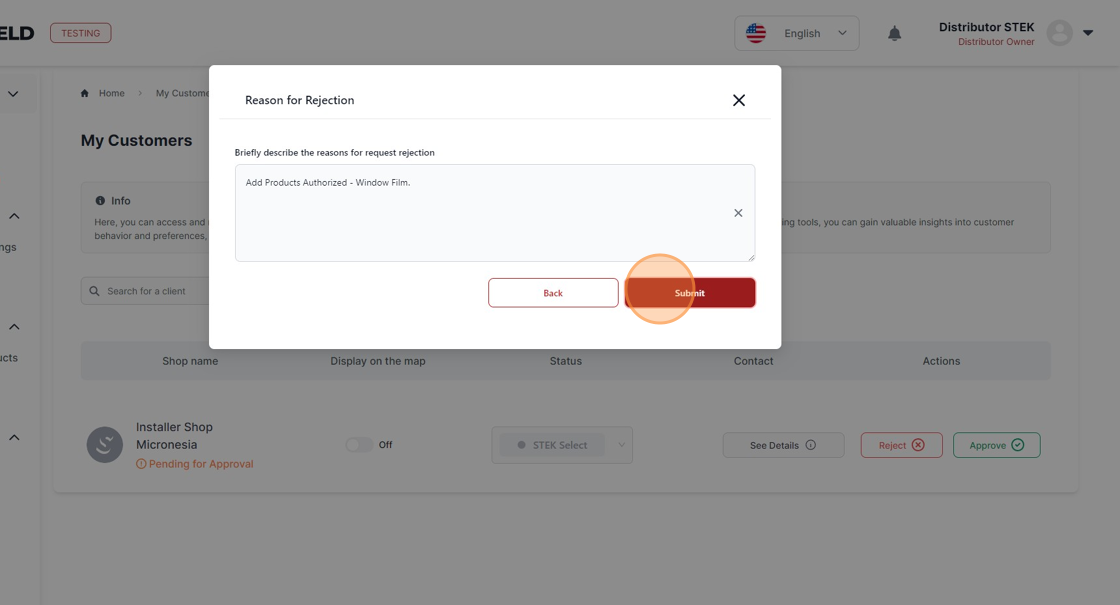
If this installation shop is not your customer or some information is incorrect, click "Reject"

Step 4
5

Provide the reason for rejection.
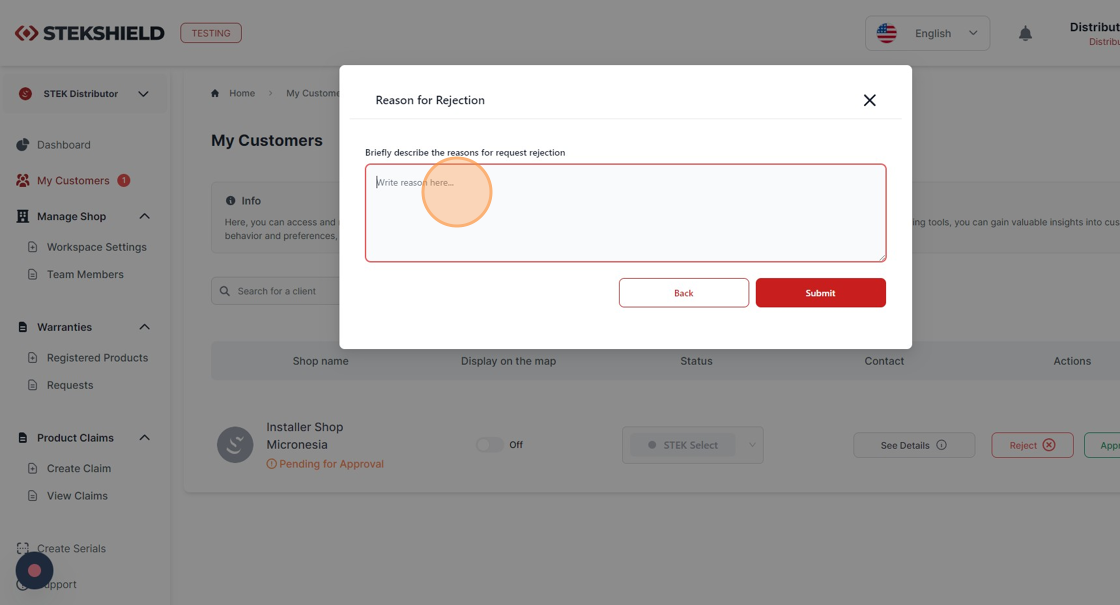
Step 5
6

Click "Submit"

Step 6
7

The installation shop will receive a notification of your rejection and the reason. They will fix what you requested them to fix and re-submit the workspace approval request to you.

Step 7
8

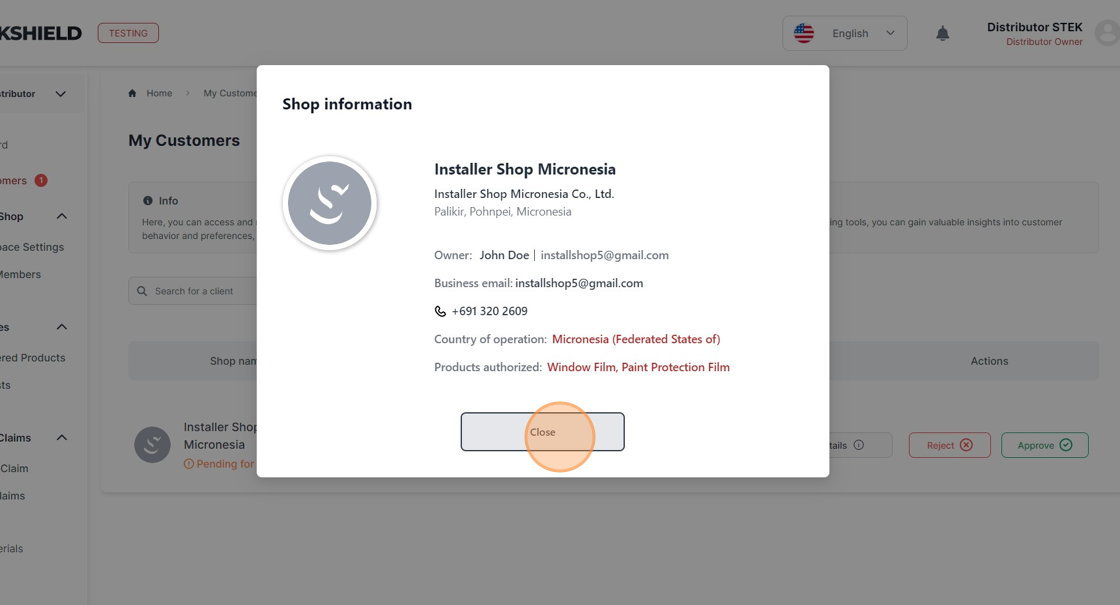
Check all the information of the Installation Shop by clicking "See Details".

Step 8
9

Click "Close"

Step 9
10

If all the information is correct, click "Approve".

Step 10
11

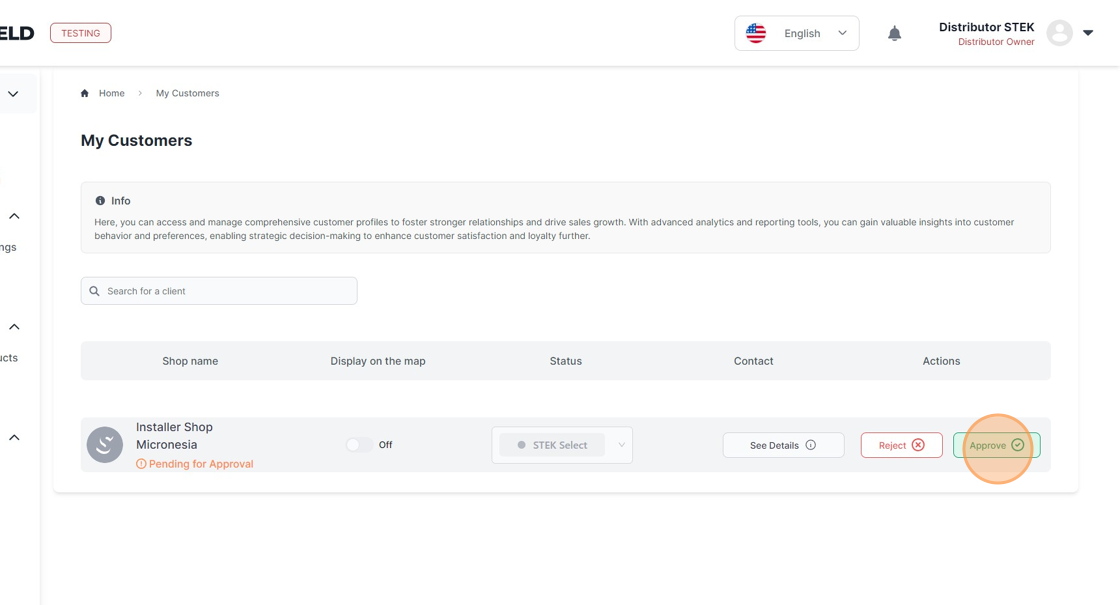
The newly created Installer Workspace has been approved and the installation shop will now be able to access warranty and claim registrations.

Step 11

Was this article helpful?

That’s Great!

Thank you for your feedback

Sorry! We couldn't be helpful

Thank you for your feedback

Let us know how can we improve this article!

Select at least one of the reasons
CAPTCHA verification is required.

Feedback sent

We appreciate your effort and will try to fix the article