
4.1 Installer: Registering Warranty for a Product
This guide provides step-by-step instructions for installers to register a warranty for a product. It includes detailed instructions on inputting customer information, retrieving vehicle data, inserting product details, and uploading images. It also explains the process for the car owner to activate the warranty and for the installer to view and download the warranty information. Additionally, it provides a shortcut for registering warranties for the same customer. Overall, this guide is essential for installers to efficiently register and manage warranties for their customers.
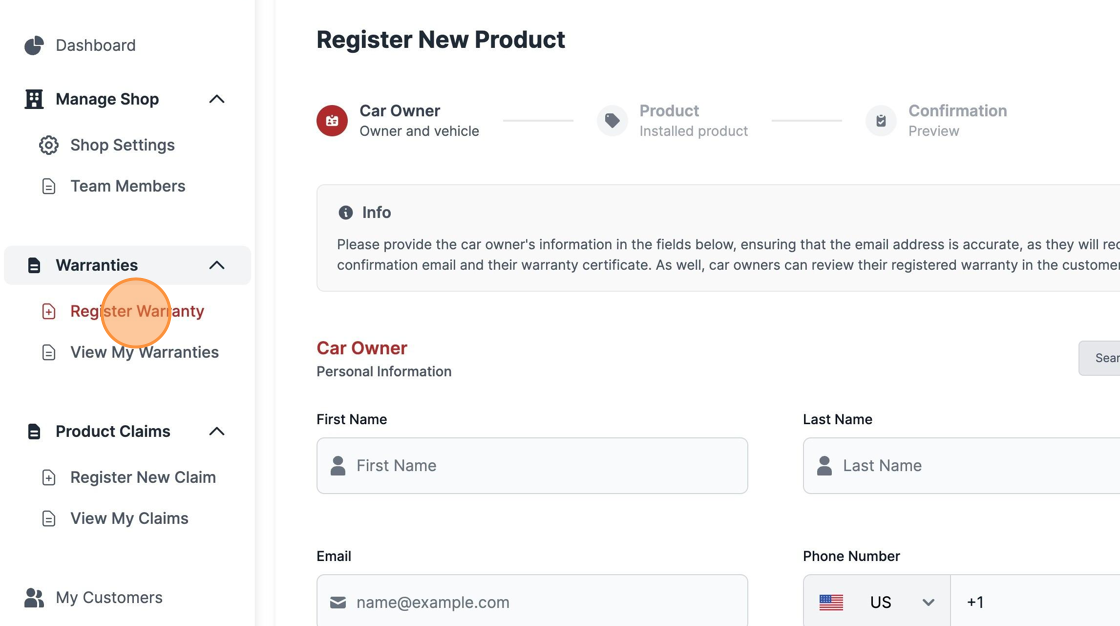
[Installer Shop] Under "Warranties", click "Register Warranty".
[Installer Shop] Input the Car Owner information in the form below.

[Installer Shop] Regarding the customer's vehicle, insert the car's VIN Number here.

[Installer Shop] Click "Retrieve Data" for car registered in the global database. If the car is not listed, input the details manually.

[Installer Shop] Insert the License Plate Number of the car and click "Next" to submit all the information.

[Installer Shop] Insert the Serial Number of the product in this field.

[Installer Shop] Click "Retrieve product info" to pull details from STEK product.

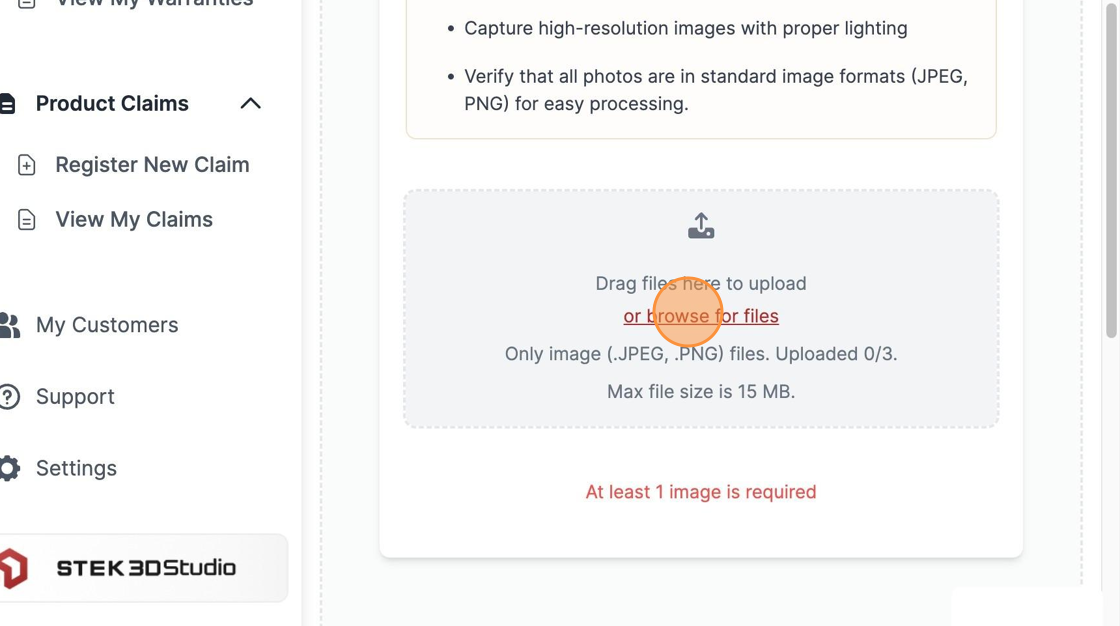
[Installer Shop] Insert Images of the installed product in order to provide more details to the Car Owner and your local Distributor.
[Installer Shop] "Add to List" button will input the desired product for warranty.

[Installer Shop] If you have finished, click "Next" for submit.

[Installer Shop] Click "Confirm" to accept the submitted information.

[Installer Shop] Navigate to Pending tabs to see your recent created warranties.

[Car Owner] Navigate to your Email Inbox, and check for "Activate warranty" emails.

[Car Owner] Click "Activate Warranty"

[Car Owner] Agree to the terms, input your personal Phone Number. Then Click "Activate Product Warranty"

[Installer Shop] Under Warranties. Click "View My Warranties"

[Installer Shop] Click this icon.

[Installer Shop] Click "See Details".

[Installer Shop] You can download a PDF with all the information as well as share it directly through email under "Share" button. It's also important to be aware of the registration ID for further actions.

[Installer Shop] While registering another warranty, it's possible to retrieve the customer information more quickly.

[Installer Shop] Click "Search From Database" to find the Car Owner already registered.

[Installer Shop] Retrieve Vehicle Owner Data by inputting the respective VIN Number in the field.

[Installer Shop] In this example, you can see the profile was created automatically upon registering the warranty for this customer. If you choose to add another product/warranty under the same customer, click "Select".

Was this article helpful?
That’s Great!
Thank you for your feedback
Sorry! We couldn't be helpful
Thank you for your feedback
Feedback sent
We appreciate your effort and will try to fix the article