
4.3 Installer: Edit a Warranty Information
This guide provides step-by-step instructions on how to edit warranty information. It explains how to access the warranties, edit product installation details, add or delete products, modify fields, save changes, and track the status of edit requests. By following this guide, users can easily update and manage their warranty information.
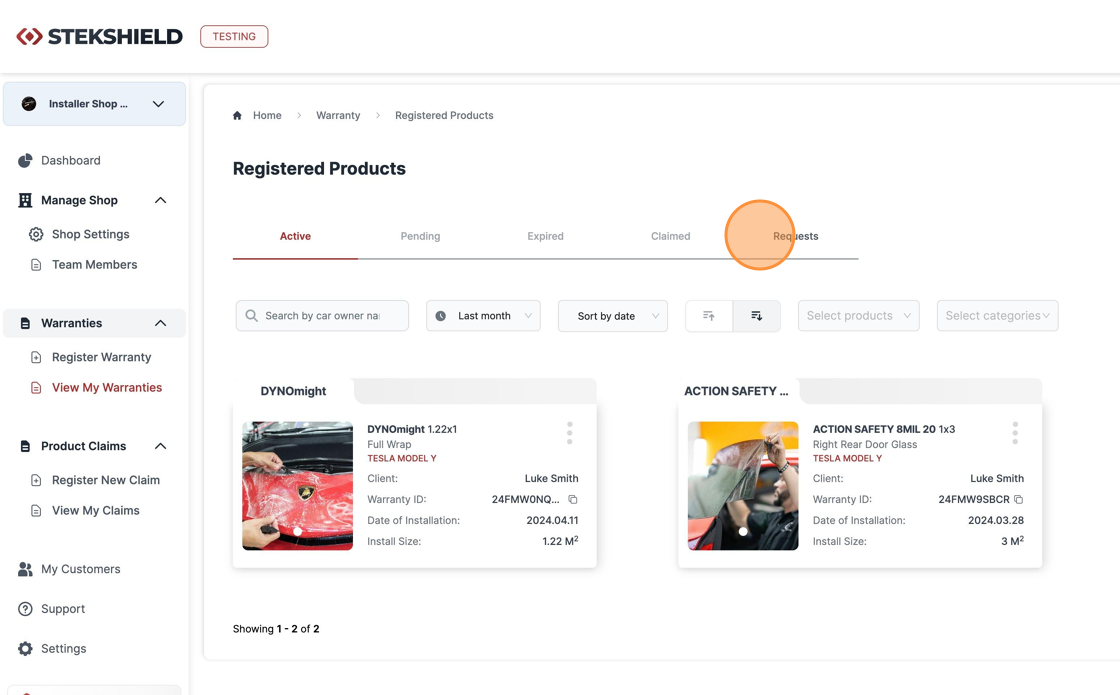
Click "View My Warranties"

Click this icon.

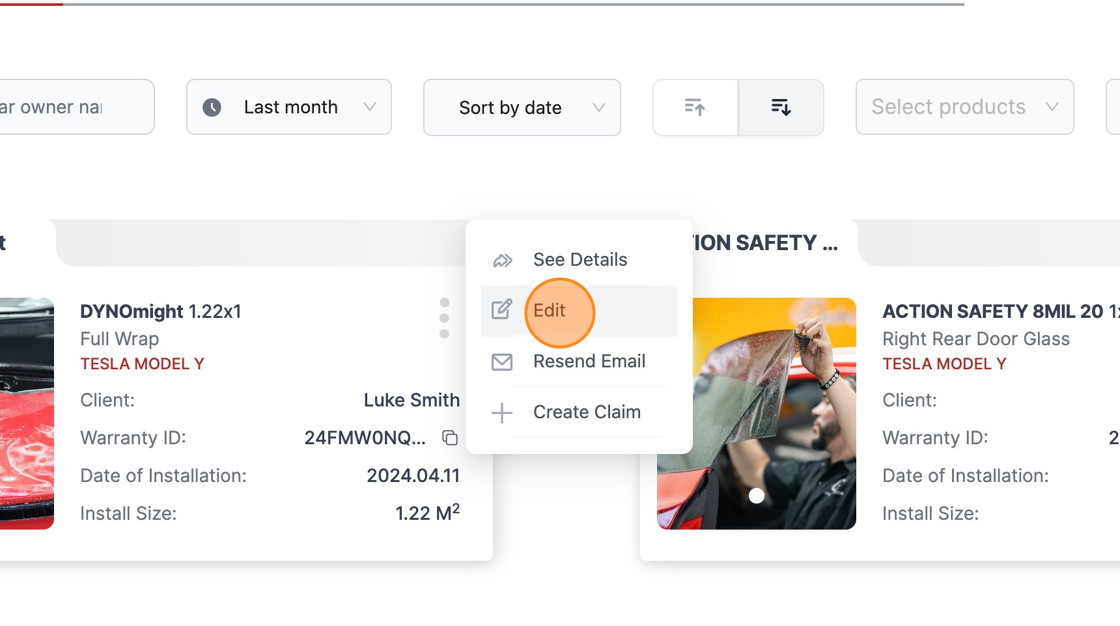
Click "Edit"
Click "Next"

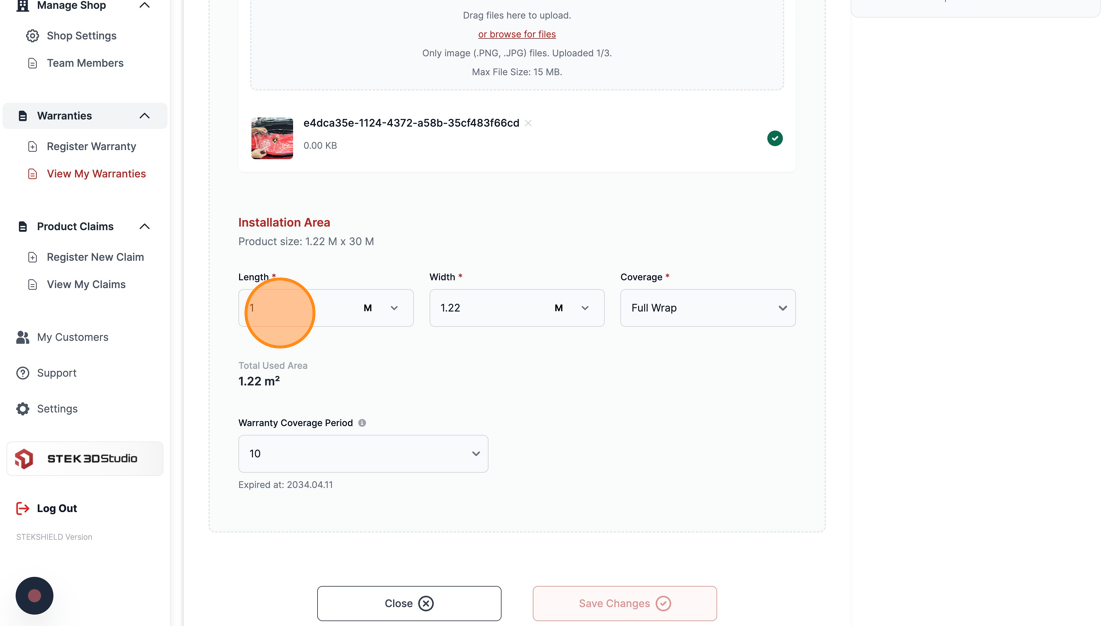
Change the desired fields. In this example, the Length is being modified.
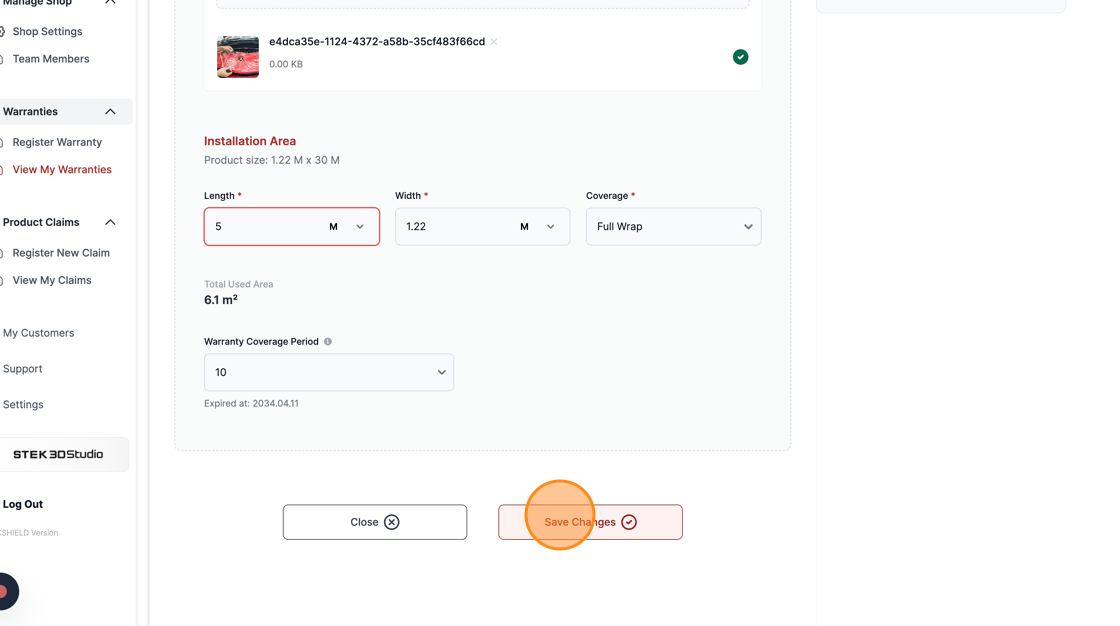
Click "Save Changes".
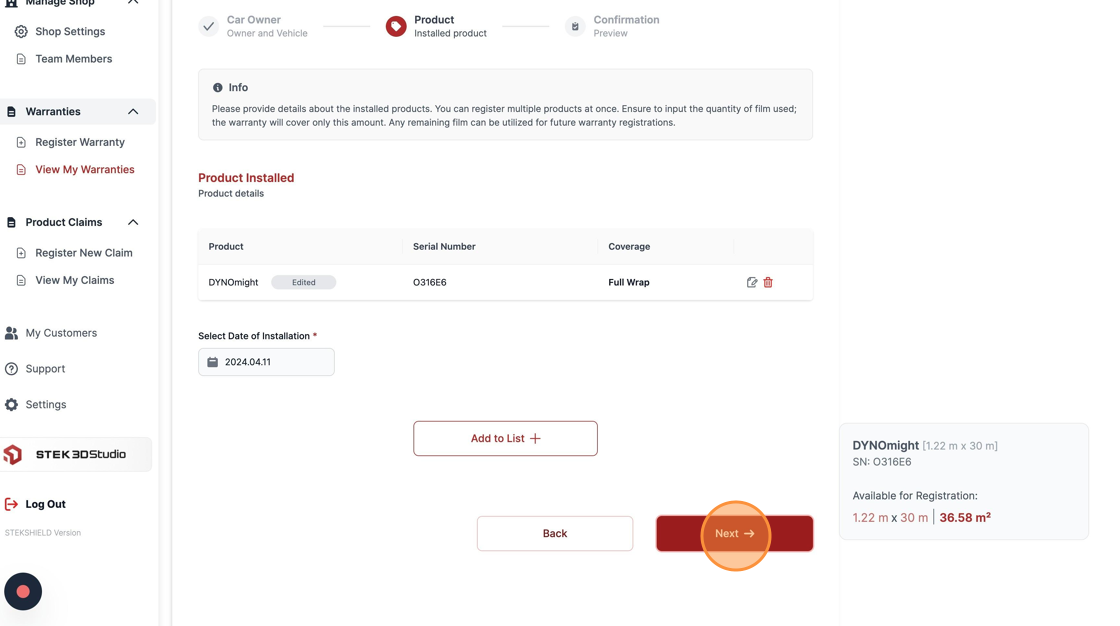
You can check which products were edited and their respective Serial Numbers.

Click "Next" to confirm.
Describe reason for edit request and check for receiving email notifications to get updated when your request is approved.

Click "Save Changes".

Read carefully the information above and confirm by pressing "OK".

Back in View warranties. Click "Requests" to check the status of your edit request.
By clicking in the form, you can view more details about your request.
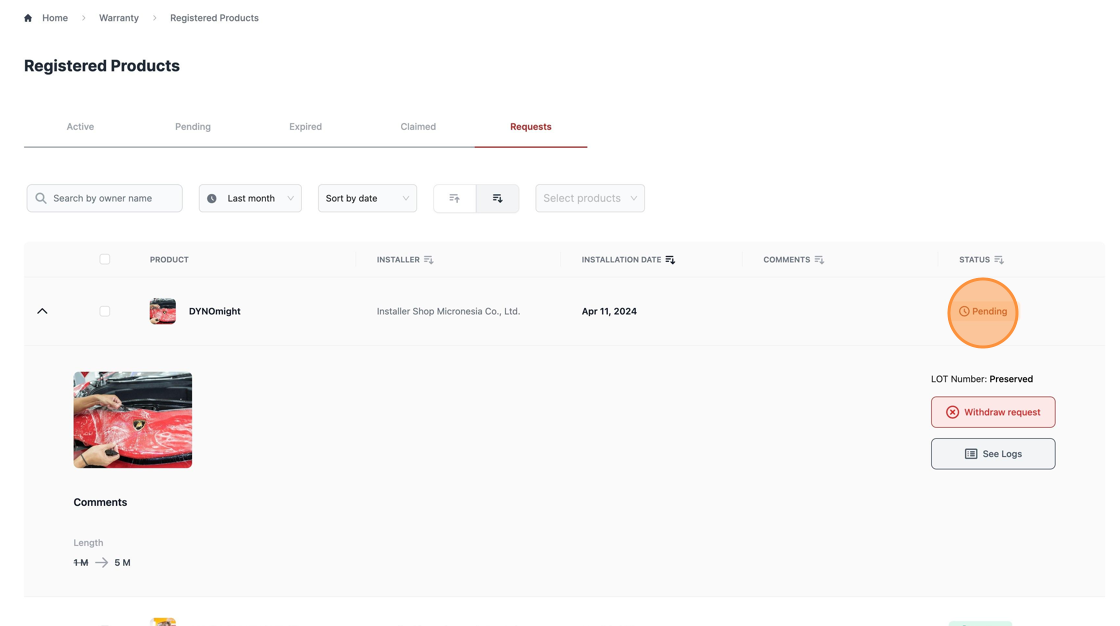
It's also possible to check previous requests in this tab.

Was this article helpful?
That’s Great!
Thank you for your feedback
Sorry! We couldn't be helpful
Thank you for your feedback
Feedback sent
We appreciate your effort and will try to fix the article