
2.2 Installer: Adjust Workspace Settings when Rejected by Distributor
This guide provides step-by-step instructions on how to adjust workspace settings when rejected by a distributor. By following these steps, users can update their information, remove unauthorized products, select requested products, and save changes. By doing so, they can gain access to previously unavailable options such as warranties and product claims. This guide is essential for anyone who has been rejected by a distributor and needs to make the necessary adjustments to regain access to certain features.
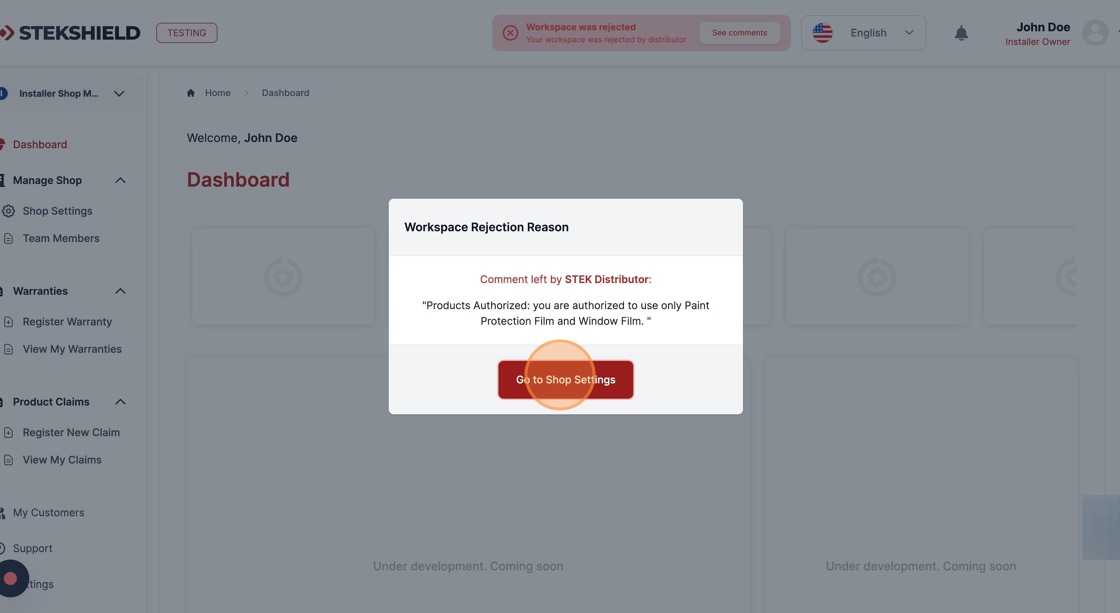
Once your distributor takes an action, in your Dashboard page, a pop-up should appear with a rejection reason. Click "Go to Shop Settings" in order to fix it.
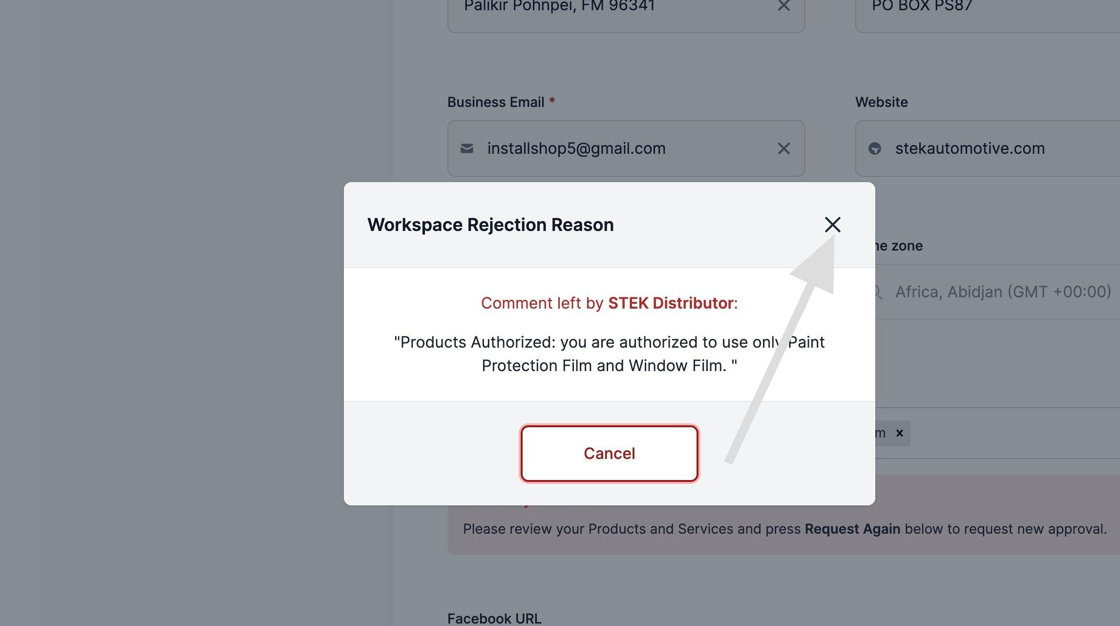
You can always check the message again in the "See comments" button on the Header of the page.
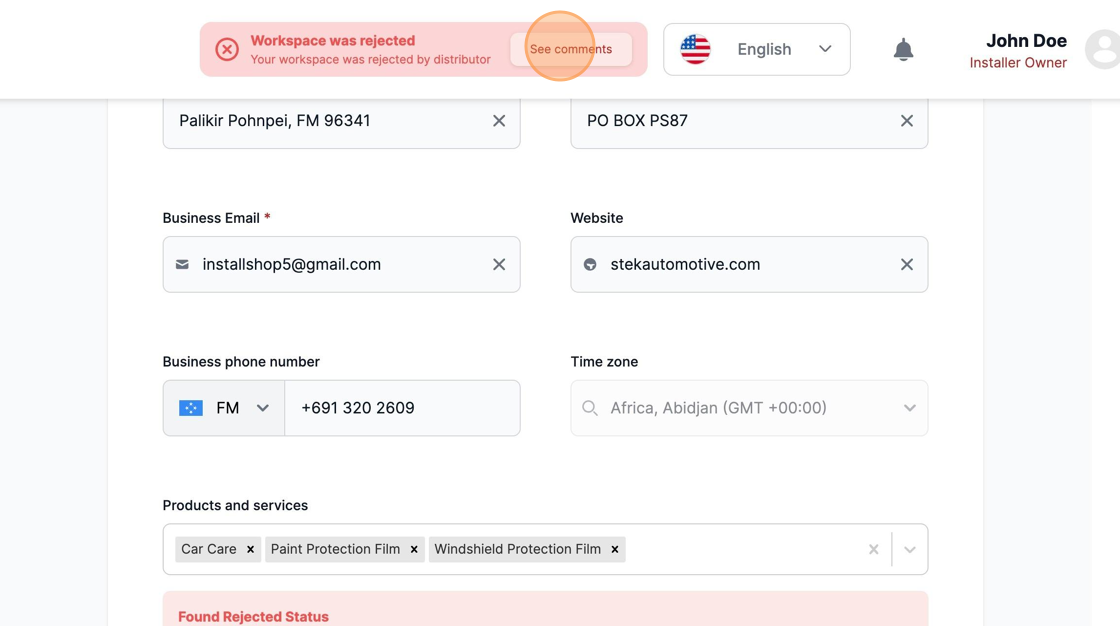
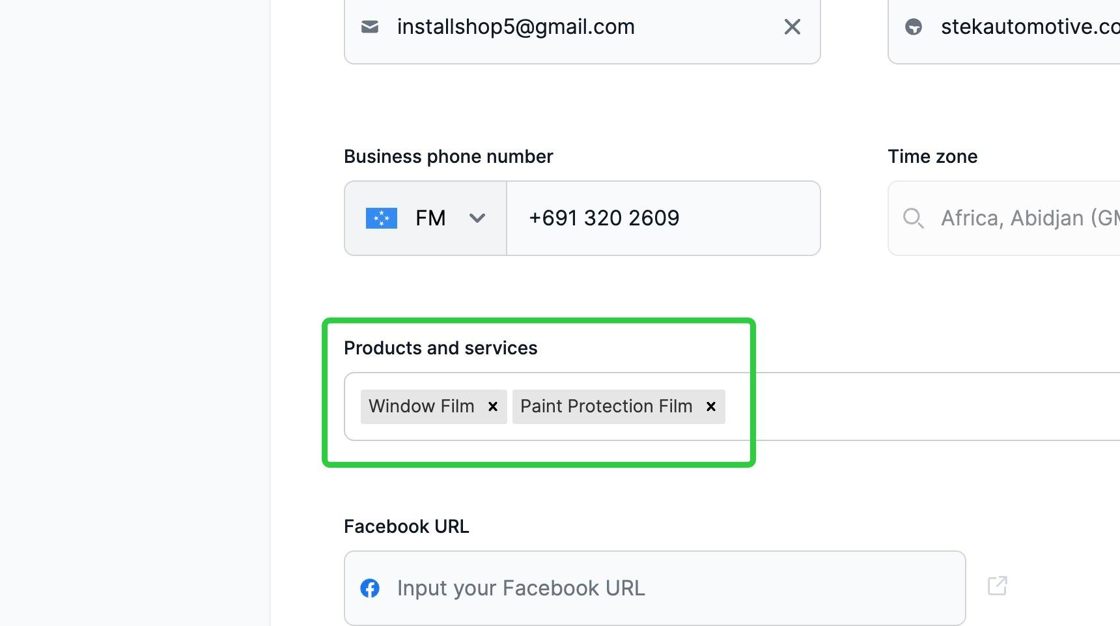
In this example: the Distributor is requesting you to remove additional products that are not authorized.
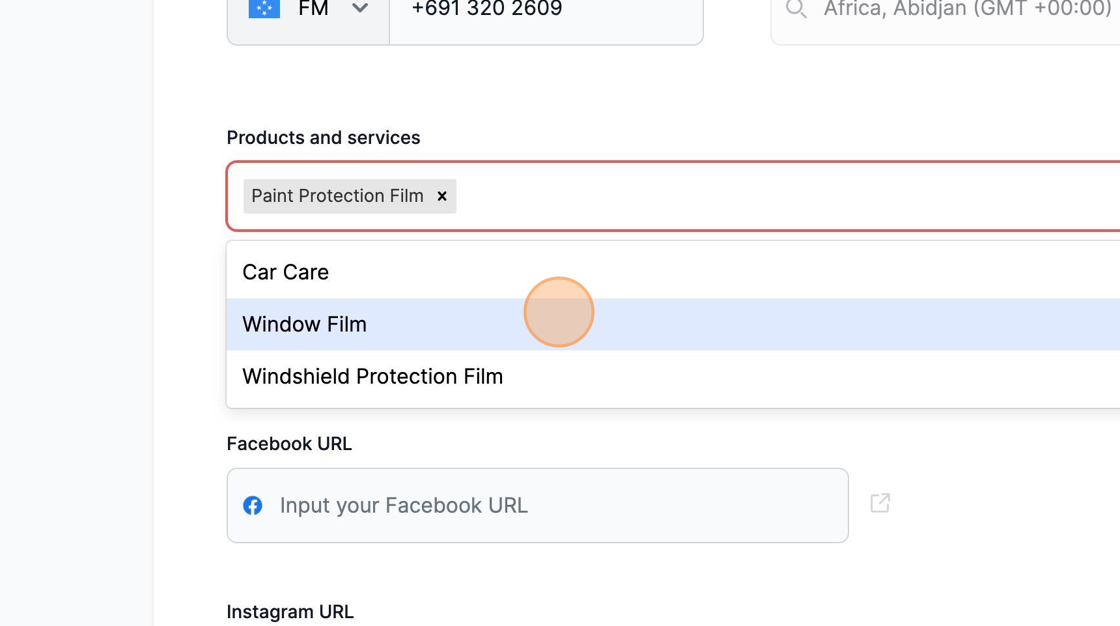
Remove the additional product not supported by the Distributor as in the message above.

Select the new product requested.
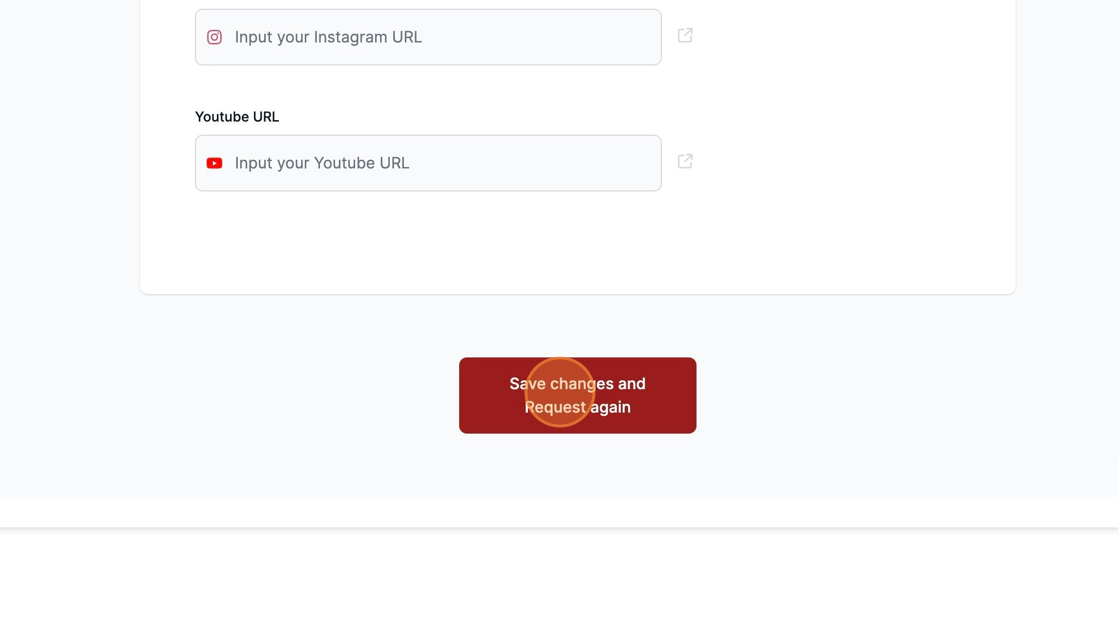
Confirm you are up to date with the details requested and proceed to the bottom of the page.
Click "Save changes and Request again"
Was this article helpful?
That’s Great!
Thank you for your feedback
Sorry! We couldn't be helpful
Thank you for your feedback
Feedback sent
We appreciate your effort and will try to fix the article